

Crosswater Mpro 3 Hole Basin Tap
MPRO 3 HOLE BASIN TAP
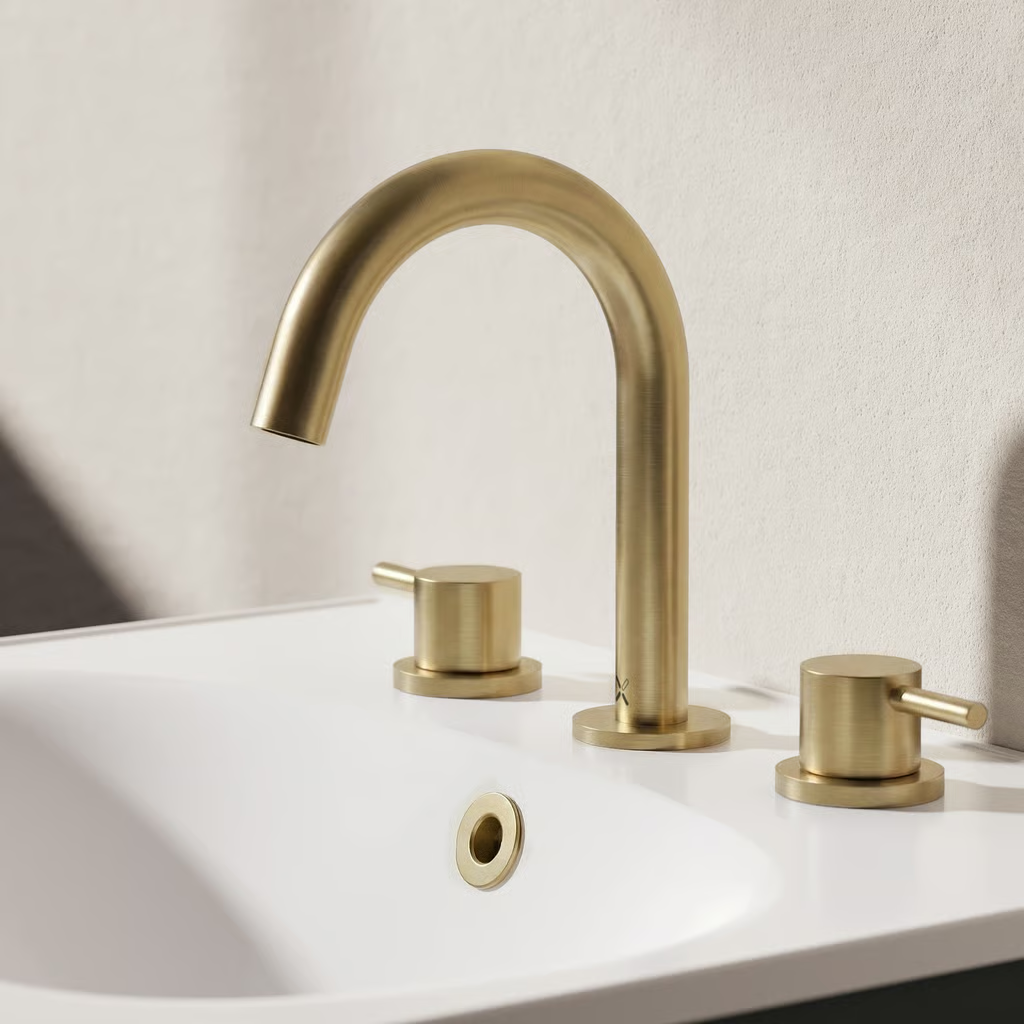
MPRO 3 HOLE BASIN TAP
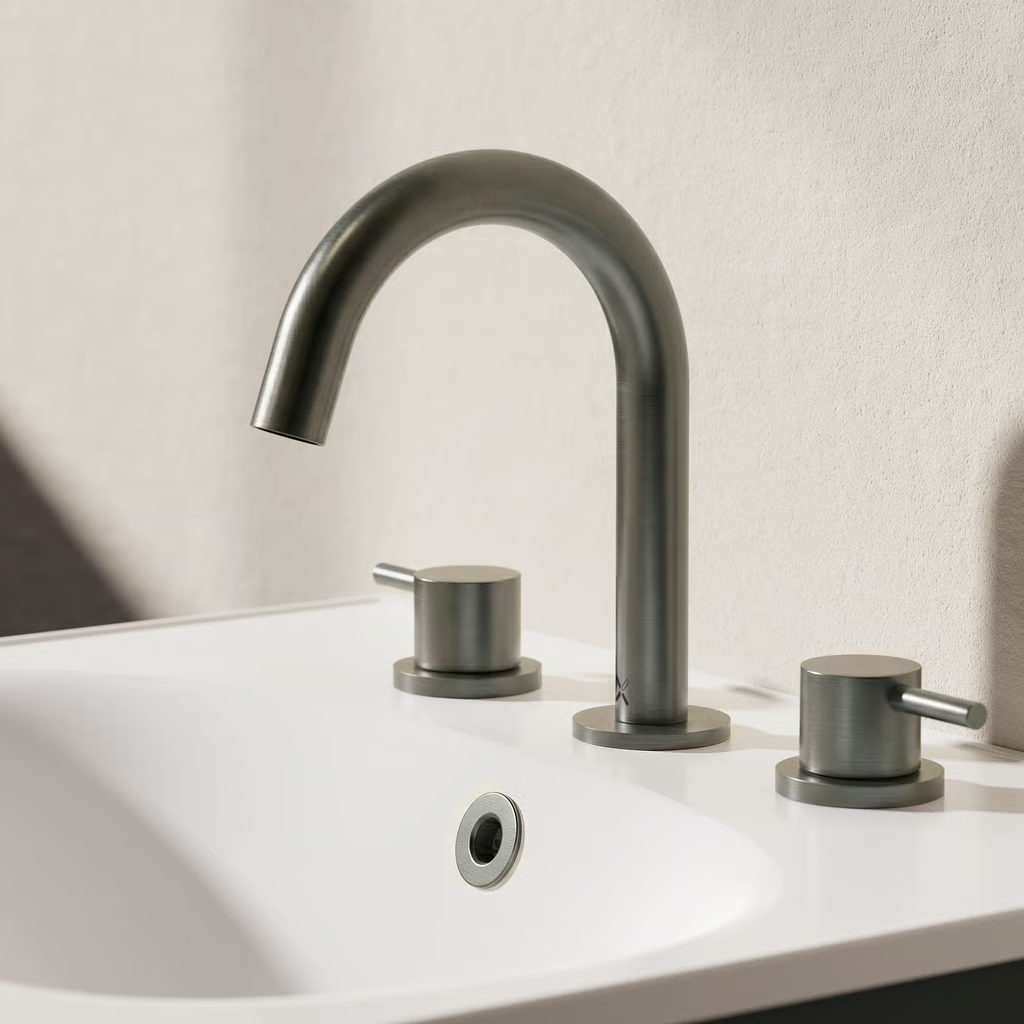
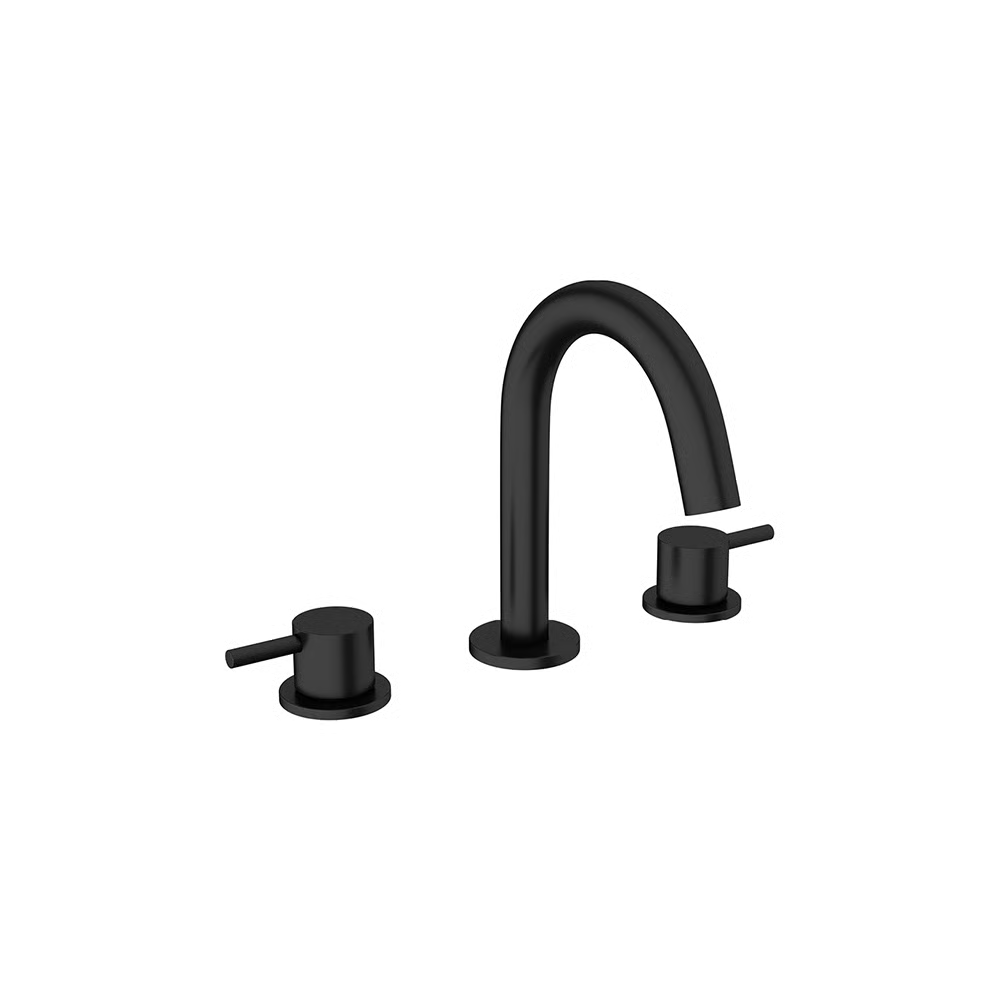
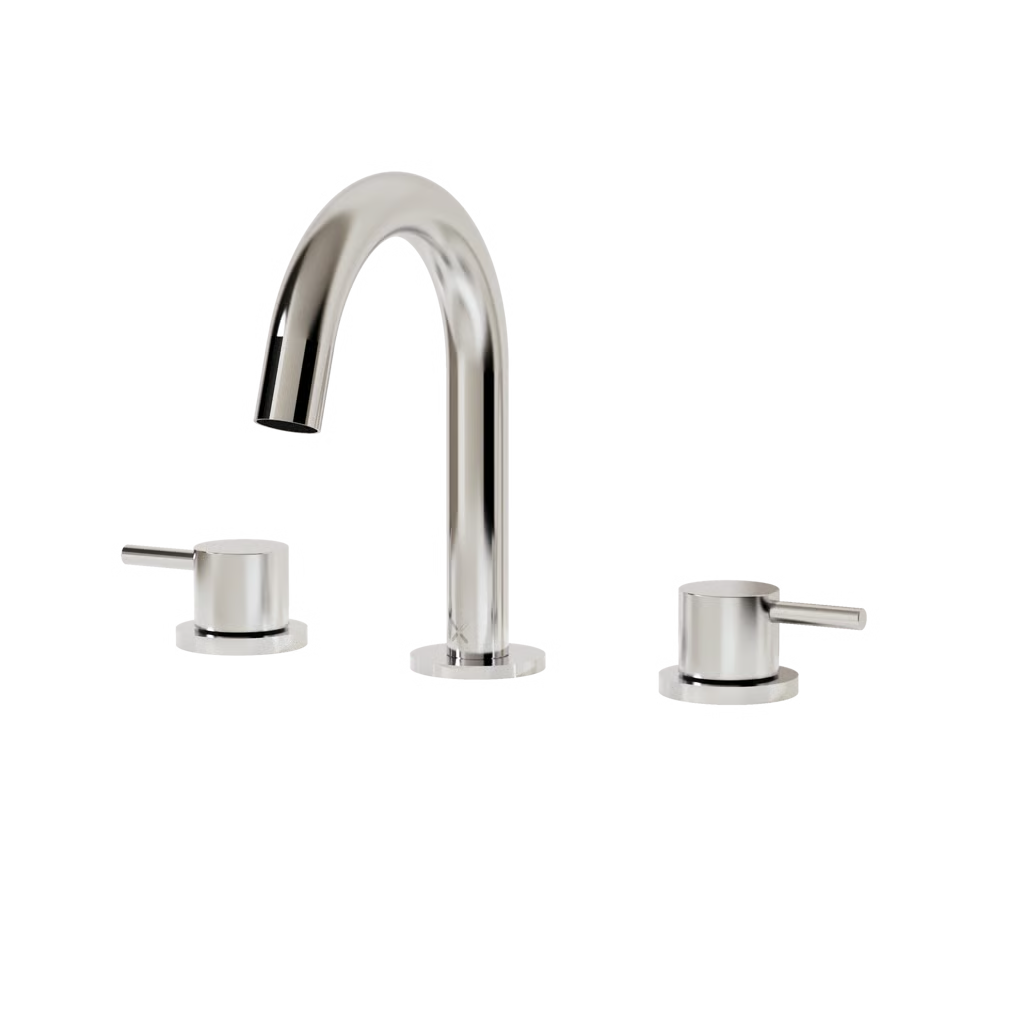
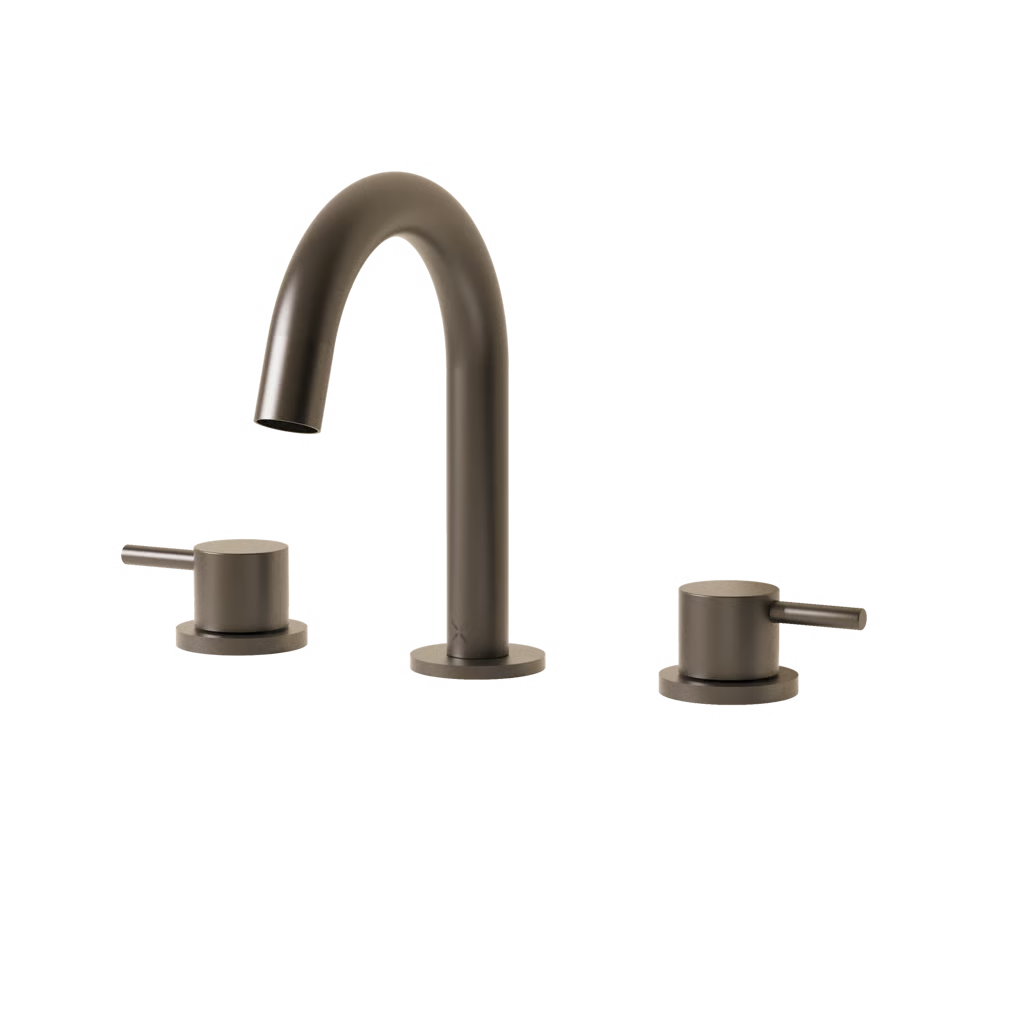
The MPRO 3-tap-hole basin tap embodies refined modern minimalism, combining smooth curves with gentle detailing for a sophisticated and contemporary bathroom finish.
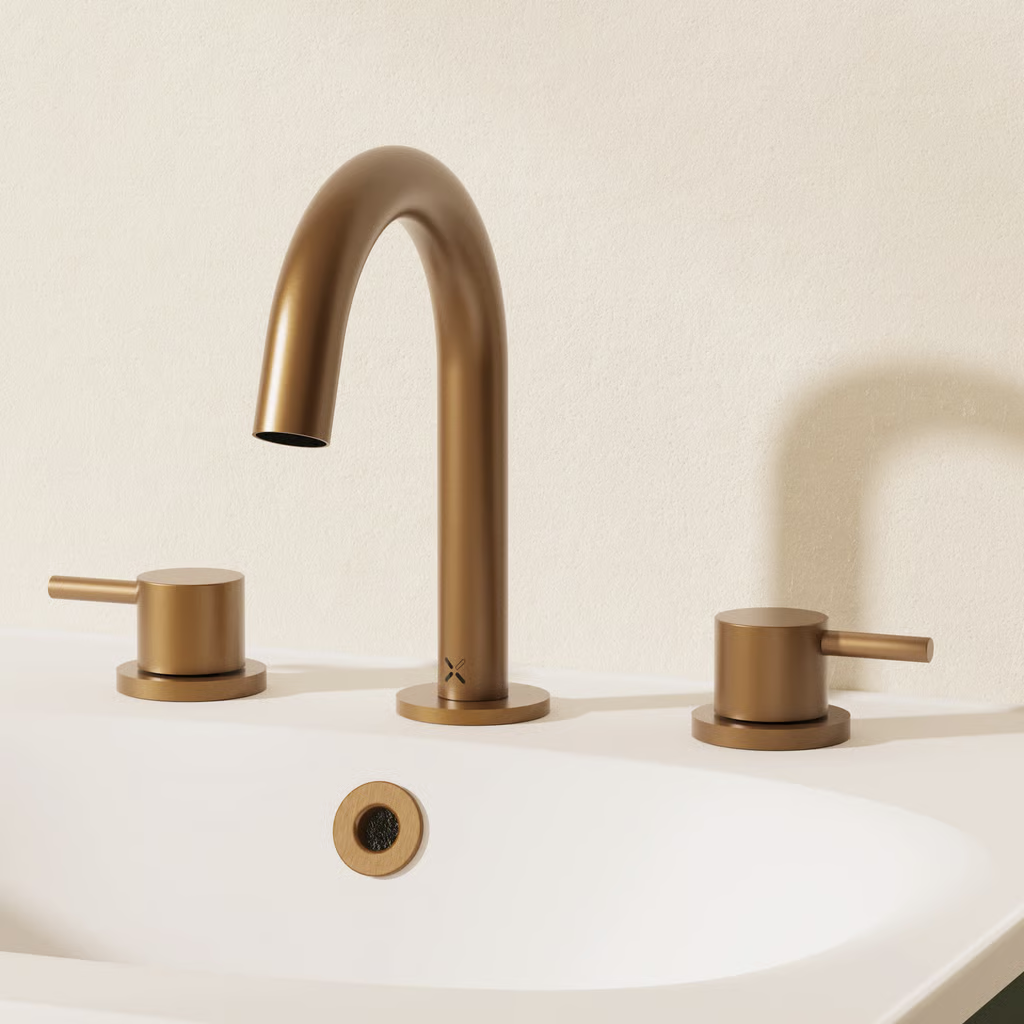
A beautifully shaped, large, curved spout forms an elegant centrepiece, delivering both visual impact and effortless functionality at the basin.
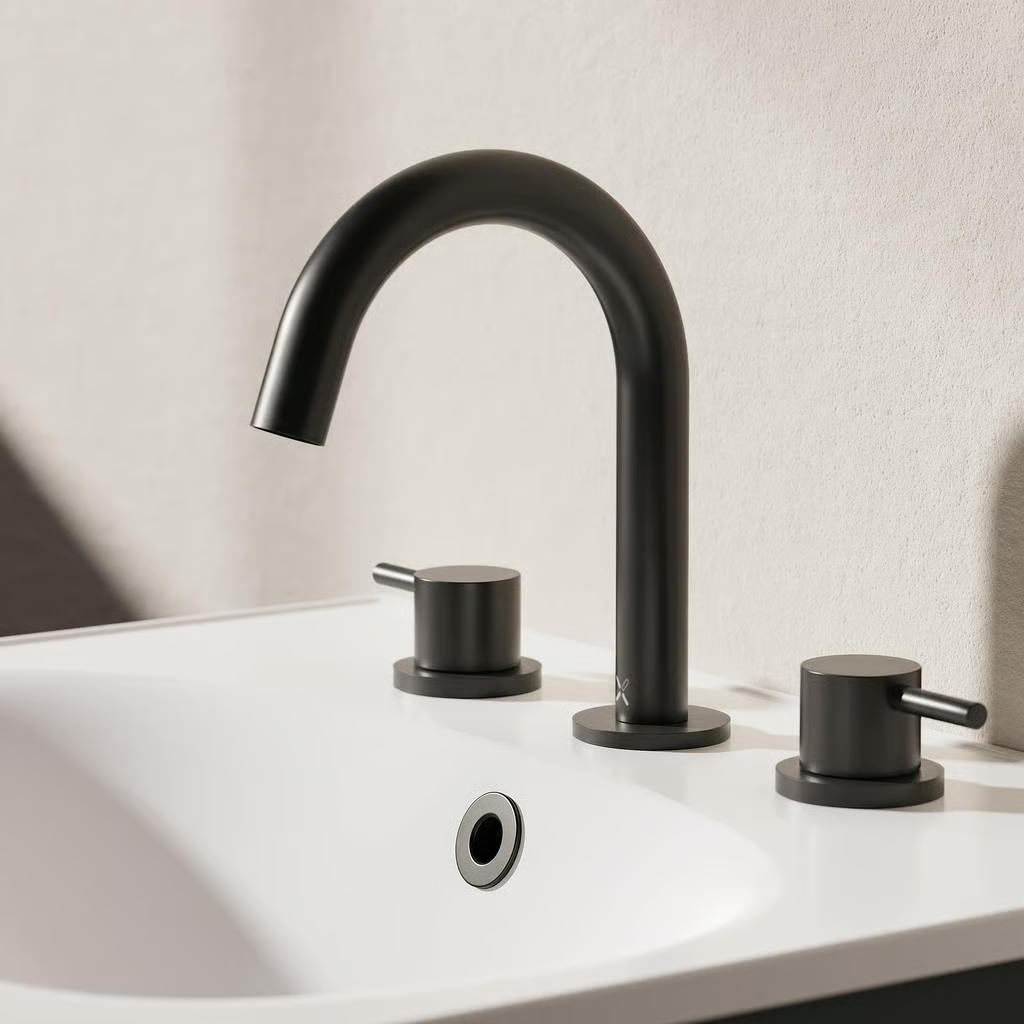
Featuring a classic three-hole, deck-mounted configuration, the separate spout and dual handles create a sophisticated look while allowing precise control of hot and cold water flow and temperature.
information
BRAND
Crosswater
PRODUCT TYPE
Basin Tap
PRODUCTION
Made in United Kingdom
FLOW REGULATOR
Neoperl Aerator
WASTE INCLUDED
No
PRODUCT WEIGHT
2.8 kg
DIMENSIONS
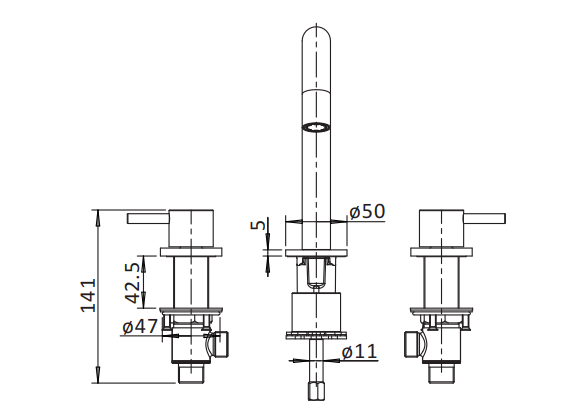
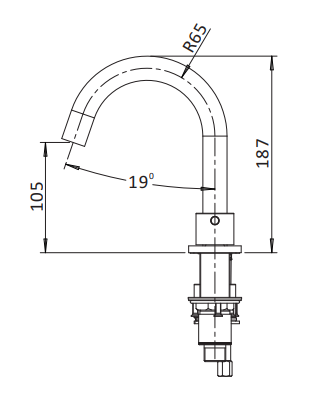
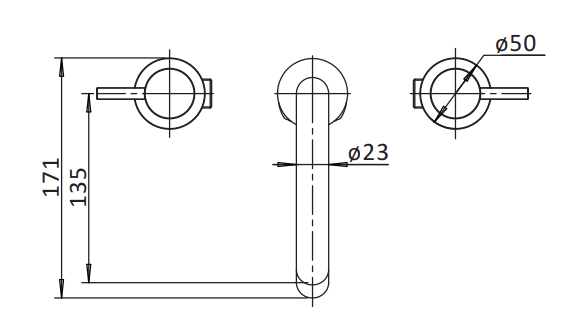
- Product Width : 50 mm
- Product Height : 187 mm
- Product Depth : 171 mm
DETAIL
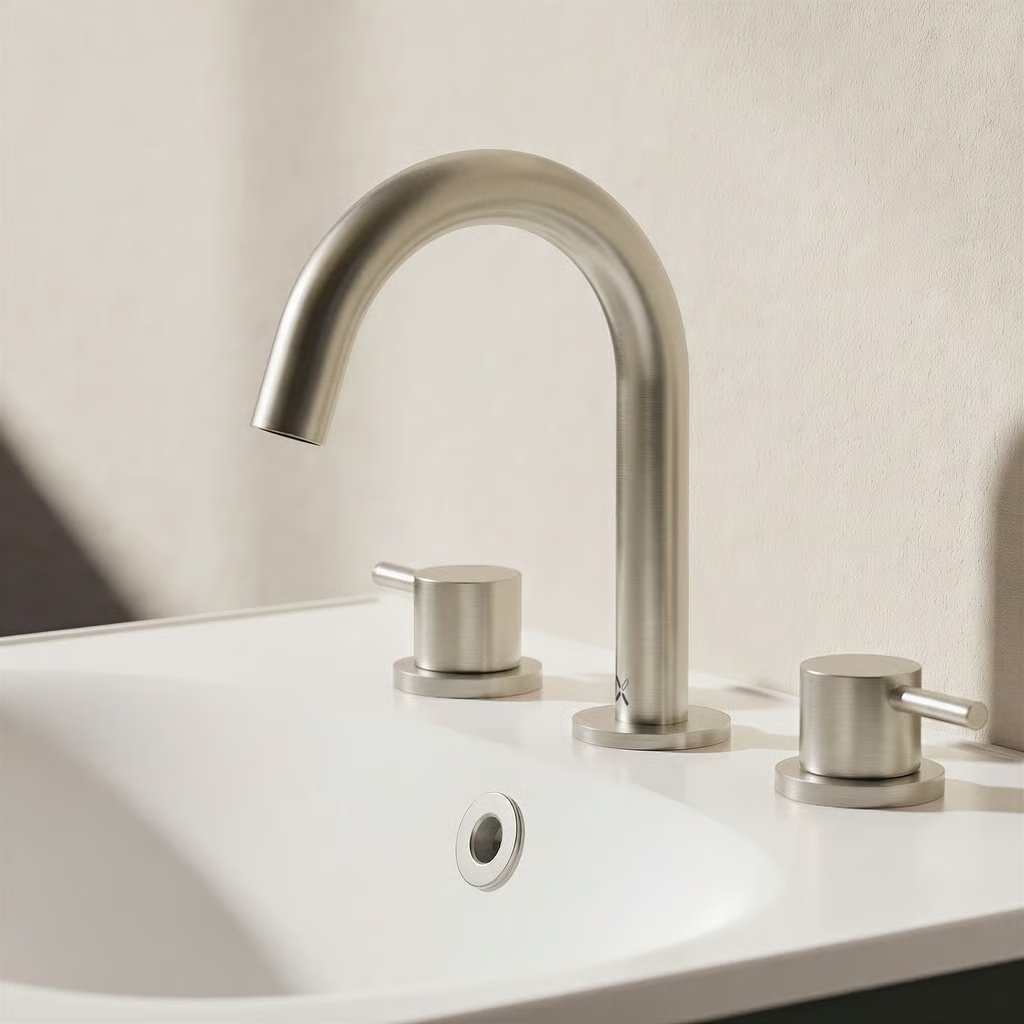
This considered design enhances ease of use while maintaining a clean, uncluttered aesthetic. Choose from two distinctive handle designs, with a selection of textures available to elevate your modern bathroom aesthetic. Our MPRO finishes coordinate seamlessly with the wider MPRO collection, including showering and accessories, allowing for a fully cohesive and stylish bathroom design.
ANTI-SCALD PROTECTION
No
INSTALLATION
Easy Installation
BARCODE
5055833678310
SPOUT PROJECTION
135
OUTLET CONNECTIONS THREAD
M16.5x1
INLET CONNECTIONS THREAD
G1/2”
FEATURES
- Durable PVD Finish
- Durable Brass Construction
INSTALL TYPE
Deck Mounted
PRIMARY MATERIAL
Brass
MINIMUM PRESSURE (BAR)
0.5 Bar
APPROVAL NUMBER
2402739
WARRANTY DETAILS
15 Years
STANDARDS
- BS EN 200:2008
- BS EN 817:2008
TECHNICAL DRAWINGS
TECHNICAL DRAWINGS
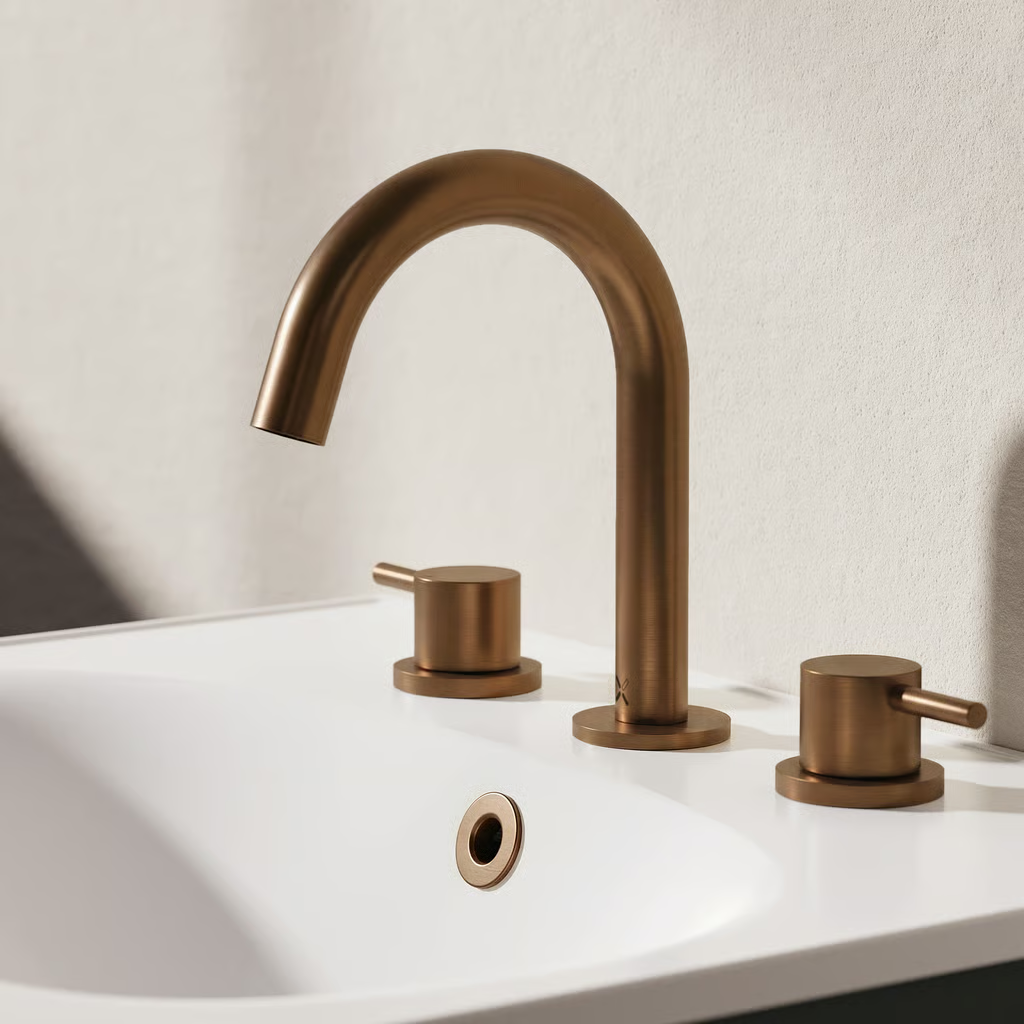
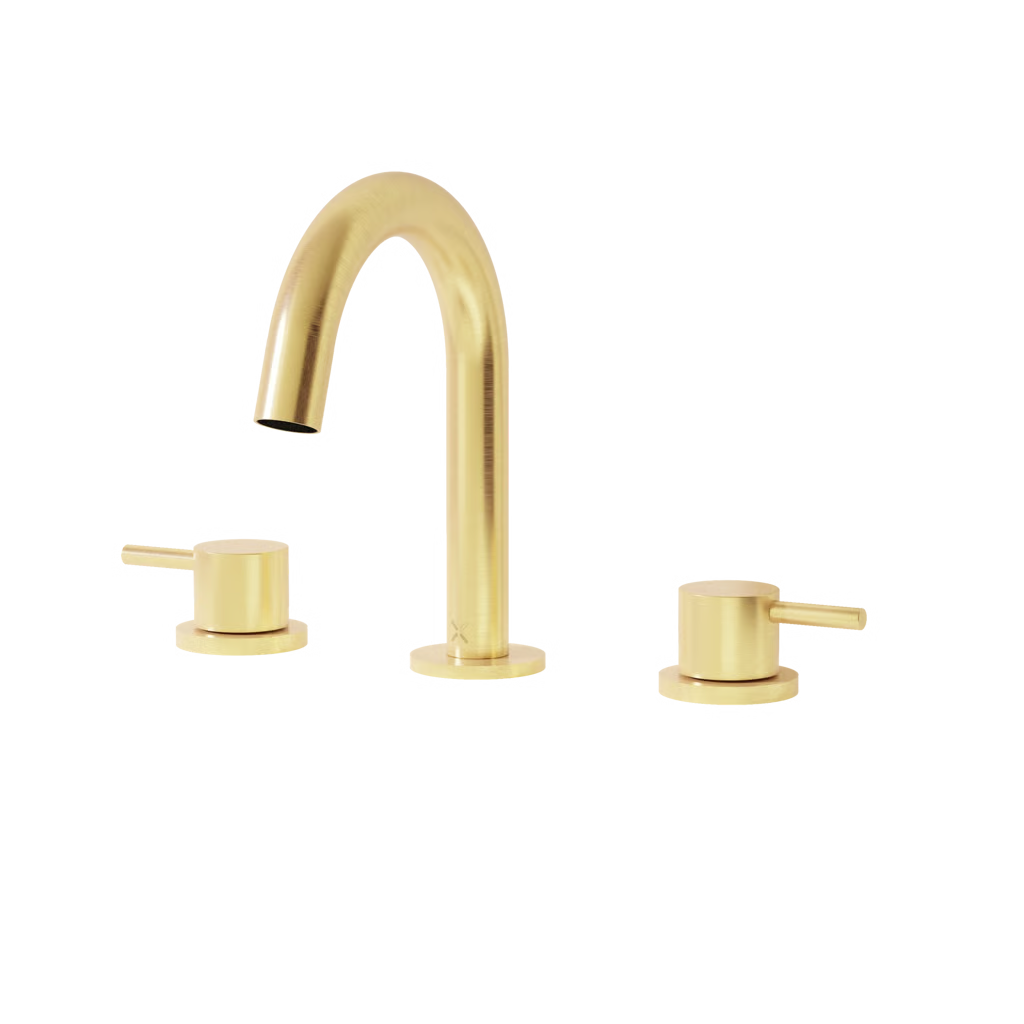
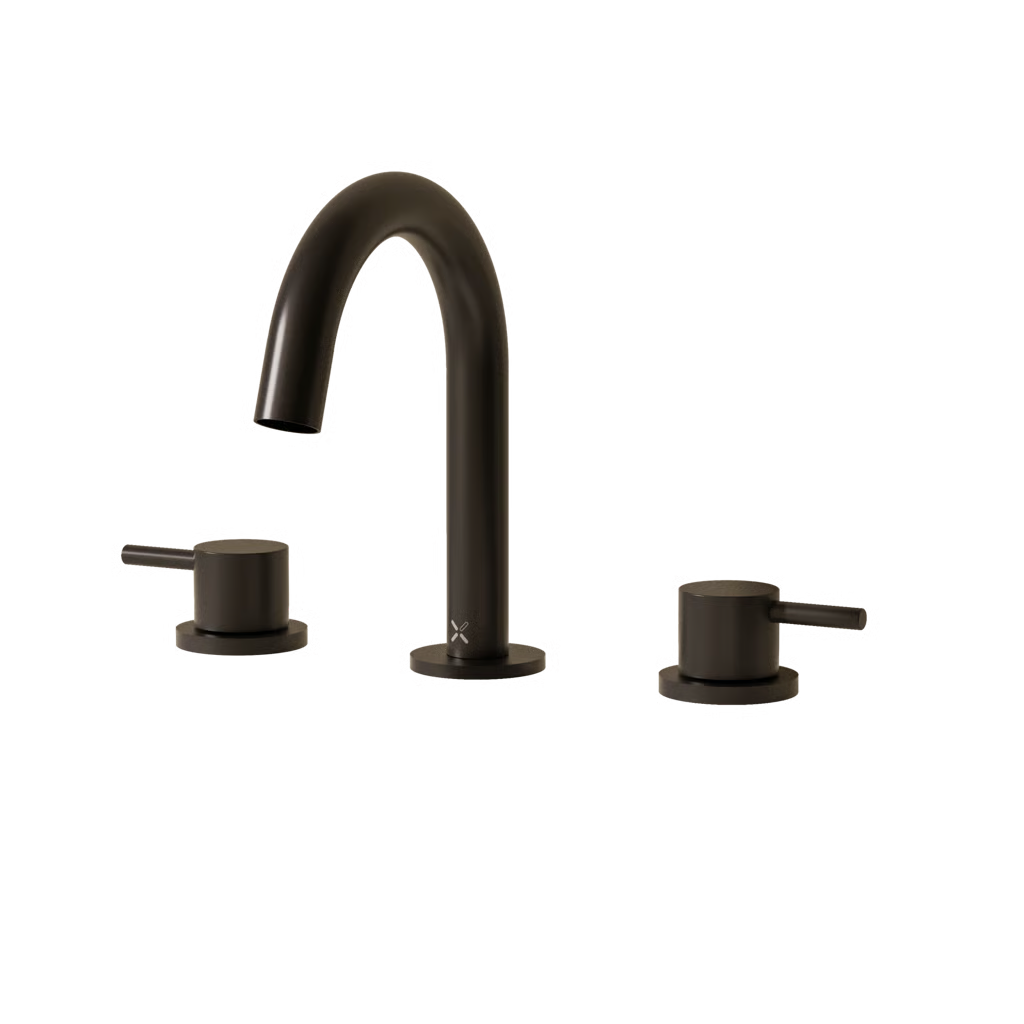
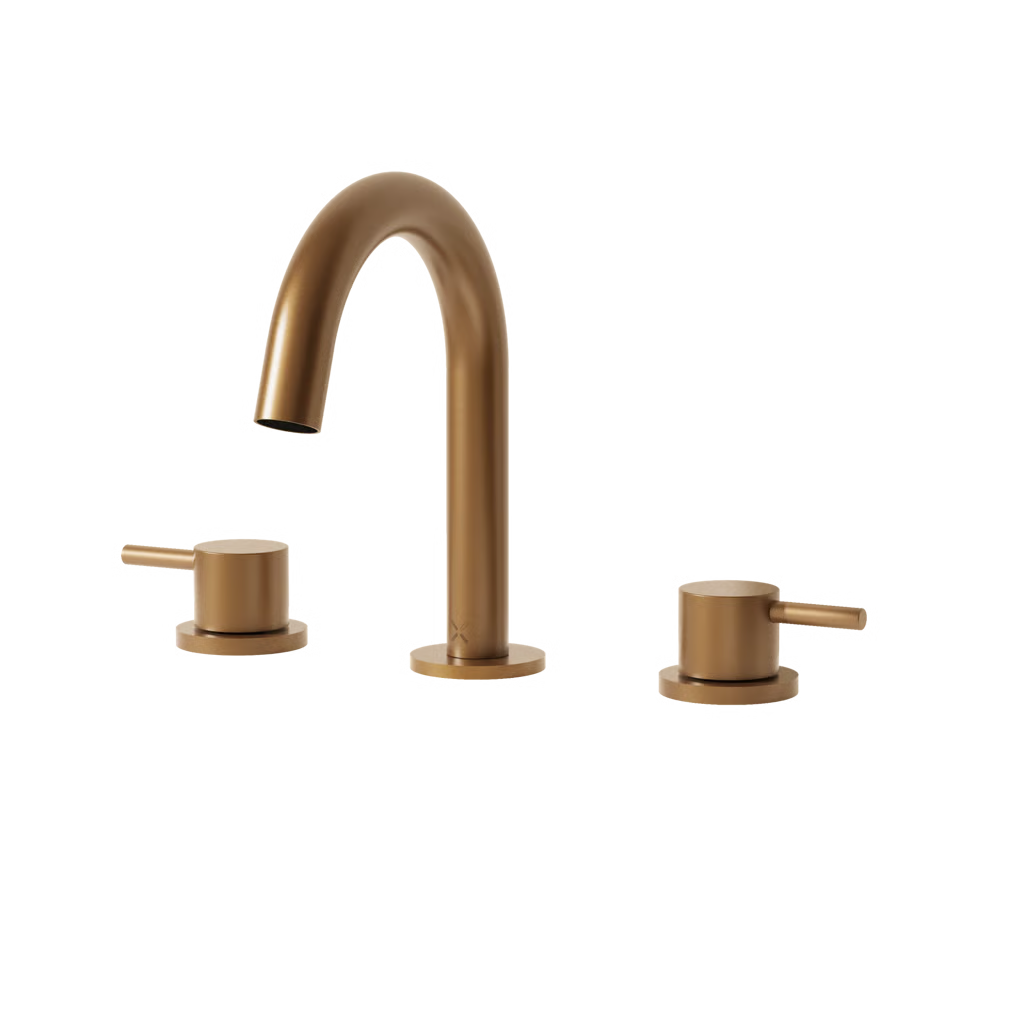
FINISHES
FINISHES
INSTALLATION
INSTALLATION
The basin spout must be firstly screw the two flexible hoses (as illustrated) into the basin spout then inserted through the centre tap hole on the basin (or work top) ensuring that there is enough thread to tighten the spout to the unit. Slide the C-shaped black washer and then the metal retaining plate up the threaded screw and secure screwing the fixing nut with an adjustable spanner.
Both side bodies must then be fitted (from the under-side of the basin or work top, without the chrome flanges fitted) making sure that the "back nuts" are already screwed onto the threads. The outlets of both side bodies must then be aligned so that the flexible pipes can supply water to the spout (which have already been secured). Once this alignment is achieved the back nuts under the basin can be tightened to allow the chrome flanges to be fitted from above the controls.
The copper pipes then need to be secured using the compression fittings and washers supplied for the hot and cold supplies. The Hot (to the left side) and Cold (to the right side) water supplies can then be nnected to the 1/2" fittings at the bottom of each side body. The tap then must be examined for any leaks under the basin. The pop up waste must then be fitted as illustrated to the basin
POP-UP WASTE
Screw together the 2 sections of the vertical control rods and insert up through the C-shaped retaining plate and into the mixer. Insert the pop-up waste lever into the slot at the back of the mixer and screw in the control rod.
Assemble the pop-up waste to the basin, with the foam washer on top and the rubber washer below and hand tighten.
Prepare the horizontal control rod by sliding on the washer, ball joint retainer making sure the cup part of the washer will sit around the ball. Slide the control rod link onto the vertical control rod. Slide on end of the spring clip onto the horizontal control rod, push the horizontal control rod through the control rod link and slide on the other end of the spring clip.
Insert the short end (with ball) of the horizontal control rod into the body (the horizontal control rod can be slid through the control rod link by squeezing the ends of the spring clip) and clamp to the body with the ball joint retainer. Do not over tighten. Test the action of the pop-up waste and fully tighten the rod link. Adjust the ball joint retainer as required.

