

Crosswater Glide Ii Basin Tap
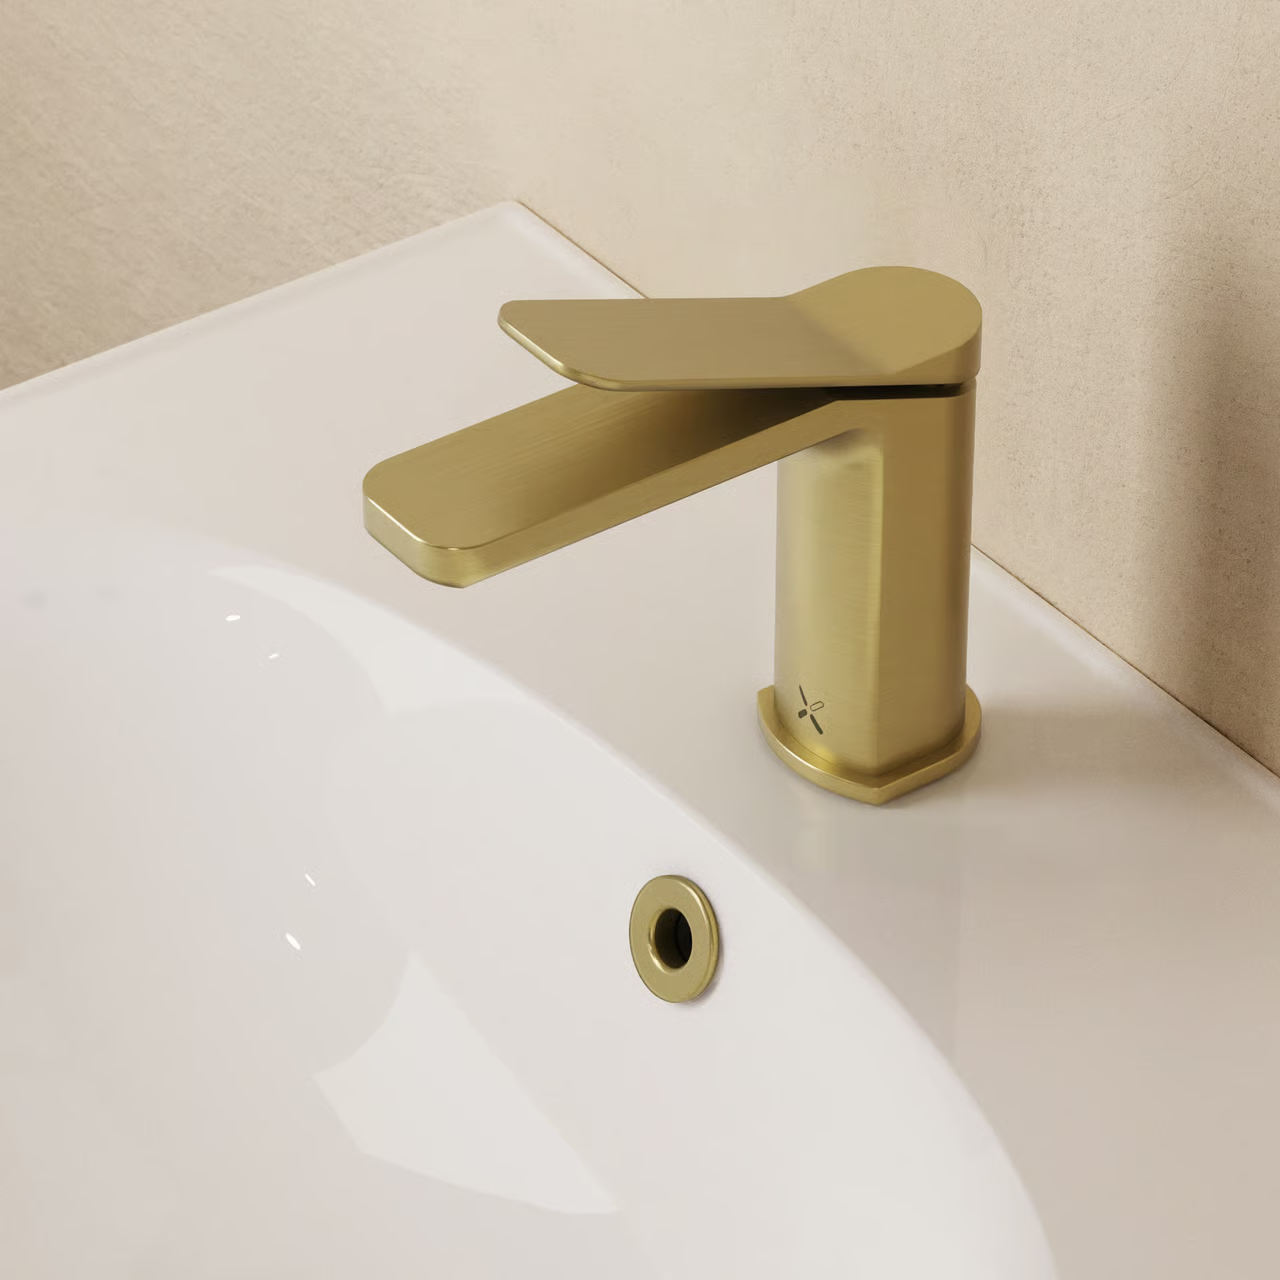
GLIDE II BASIN TAP
GLIDE II BASIN TAP
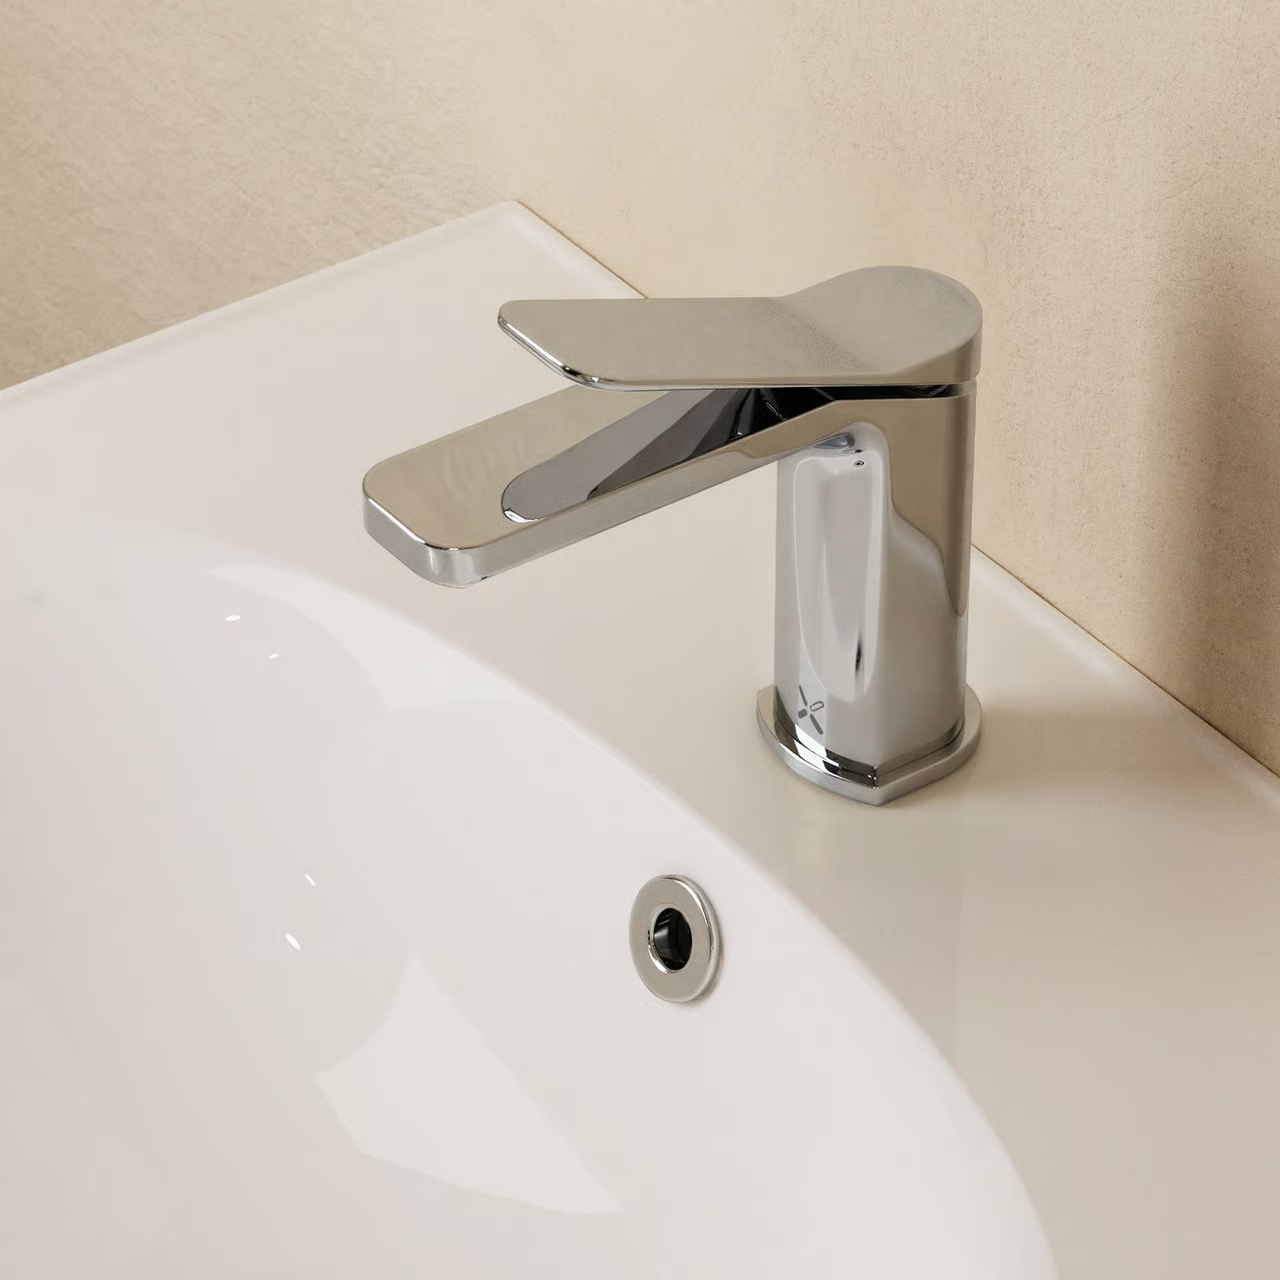
The Glide II collection brings modern elegance across your whole bathroom.
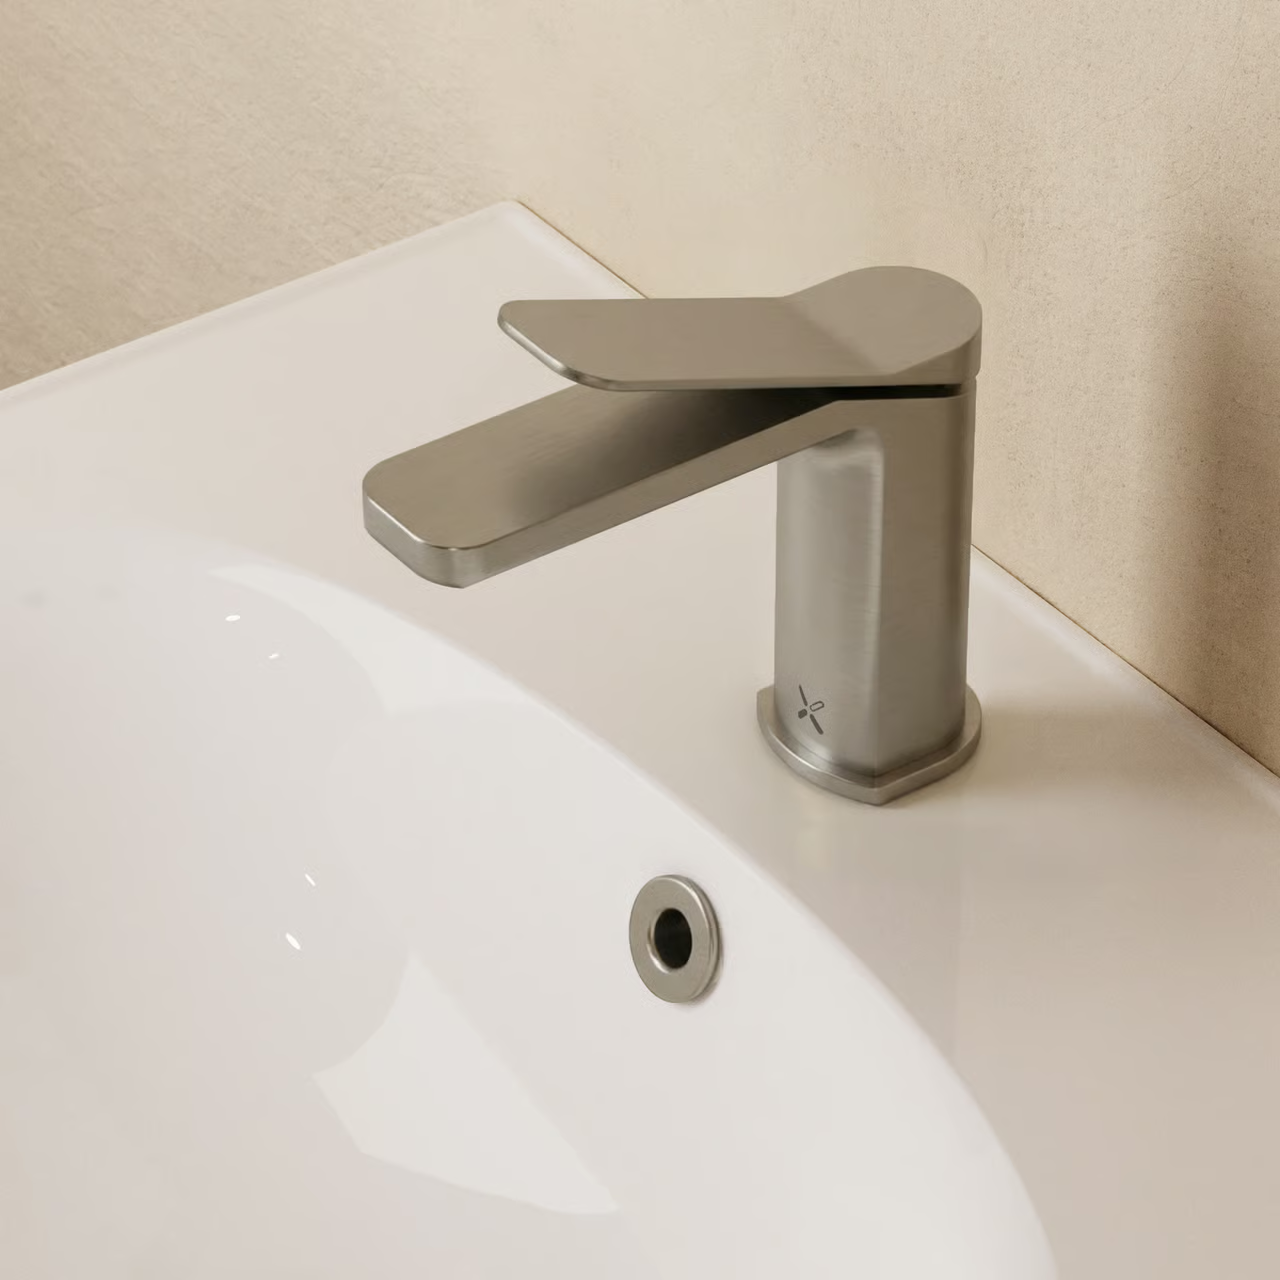
Featuring a unique combination of squared and curved shapes, Glide II brassware presents a beautiful contemporary centrepiece for your basin design.
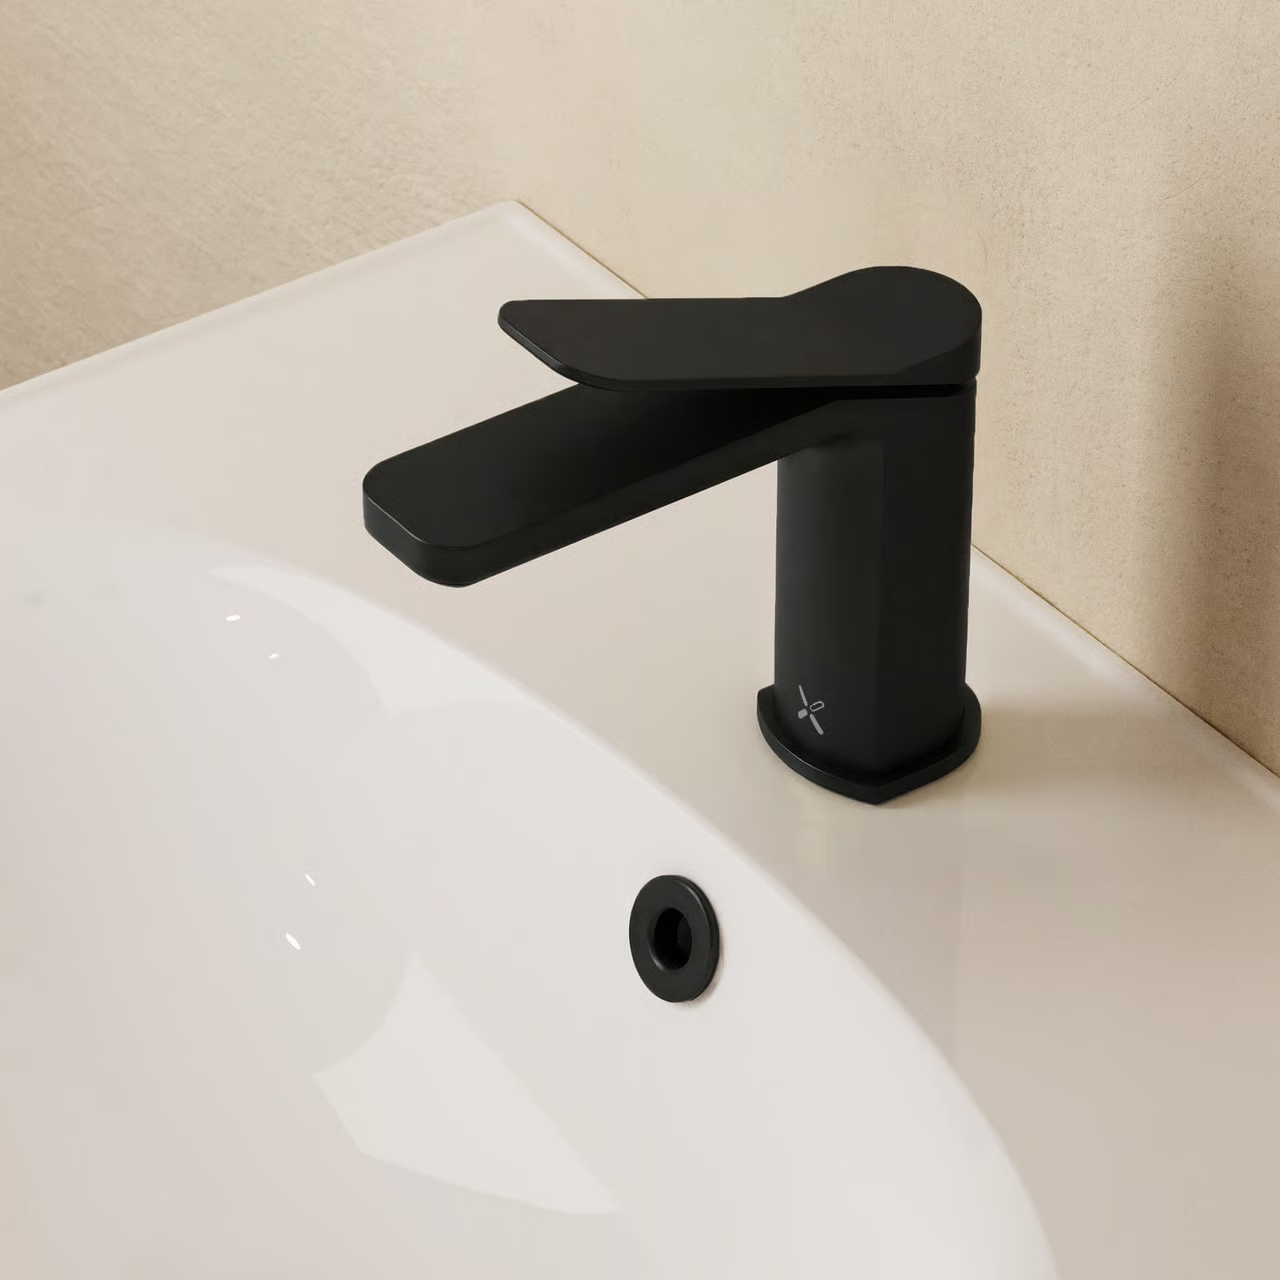
The Glide II Basin Tap has been designed with a water-saving flow regulator to ensure economic functionality.
information
BRAND
Crosswater
PRODUCT TYPE
Basin Tap
PRODUCTION
Made in United Kingdom
WATER SAVING
Water Saving Flow Regulator
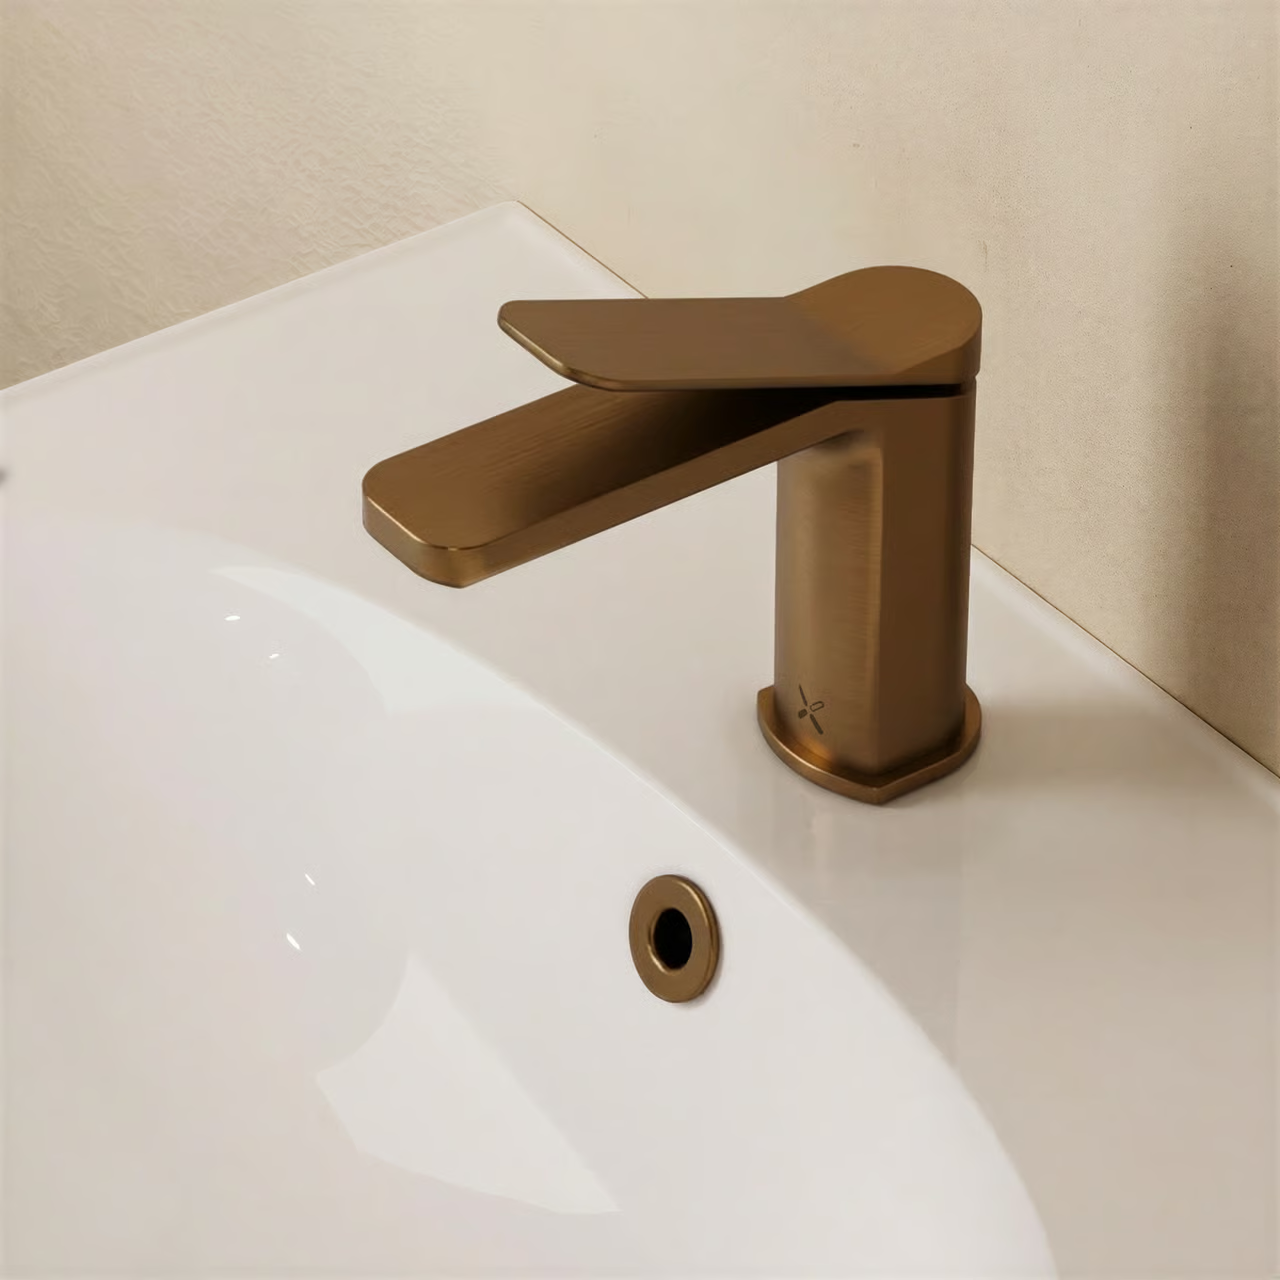
WASTE INCLUDED
No
PRODUCT WEIGHT
1.06 kg
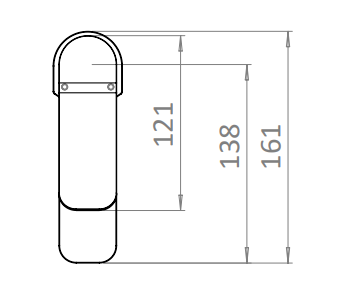
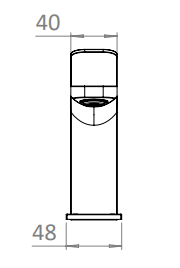
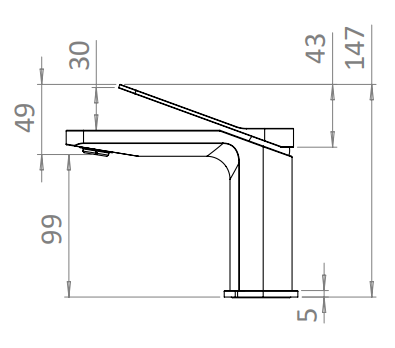
DIMENSIONS
- Product Width : 48 mm
- Product Height : 147 mm
- Product Depth : 161 mm
DETAIL
This basin tap is also easy to install, helping you to bring your basin design to life in no time. For a complete bathroom design, explore the rest of the Glide II range, including furniture, toilets, mirrors and shower brassware.
STANDARDS
BS EN 817:2008
FLOW REGULATOR
Perlator coin slot M24x1
BARCODE
5055833665655
SPOUT PROJECTION
115
OUTLET CONNECTIONS THREAD
M24x1
INLET CONNECTIONS THREAD
G1/2”
FEATURES
- Easy Installation
- Durable PVD Finish
- Durable Brass Construction
- Smooth Operation Ceramic Disc Cartridge
INSTALL TYPE
Deck Mounted
PRIMARY MATERIAL
Brass
MINIMUM PRESSURE (BAR)
1
APPROVAL NUMBER
2210790
WARRANTY DETAILS
15 Years
MAX WORKING PRESSURE (BAR)
5
ENERGY SAVING
No
NUMBER OF OUTLETS
1
HEADWORK
35mm Single lever ceramic cartridge.
DOWNLOADS
↓ Product Sheet
↓ Installation Guide
TECHNICAL DRAWINGS
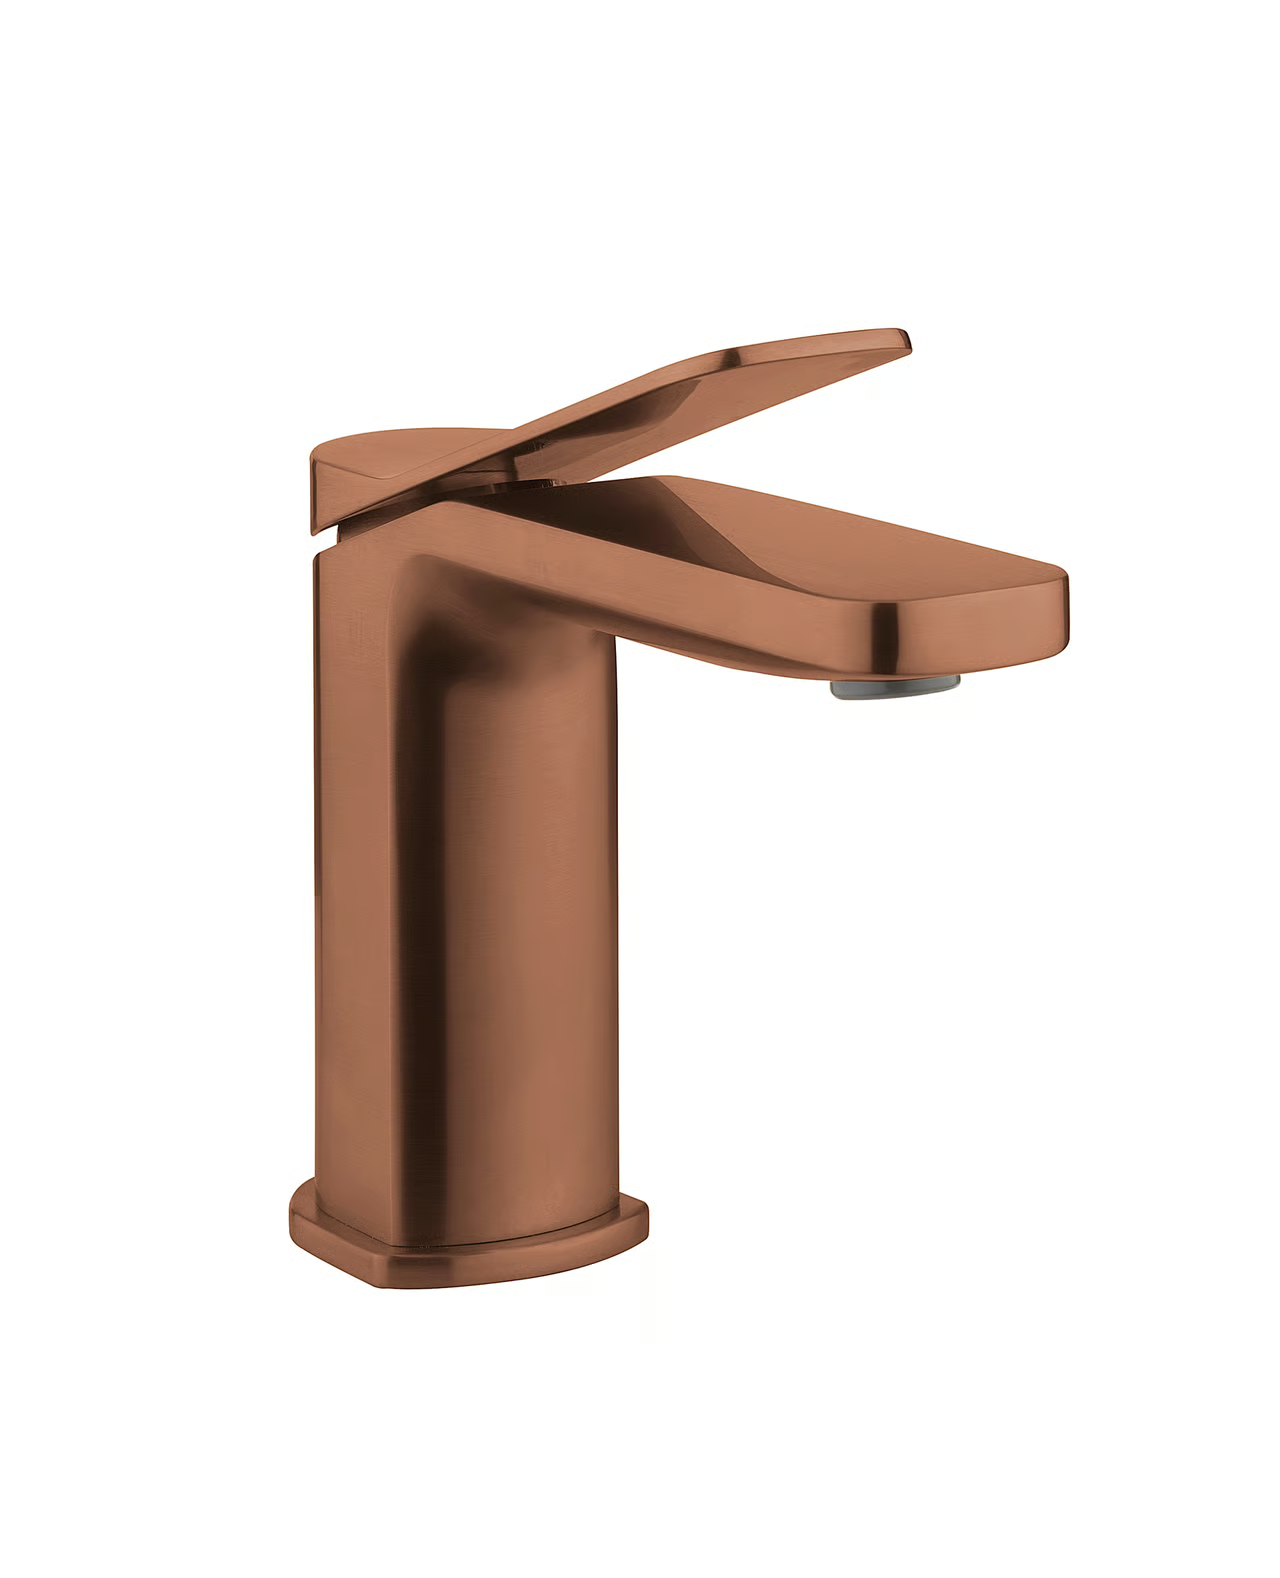
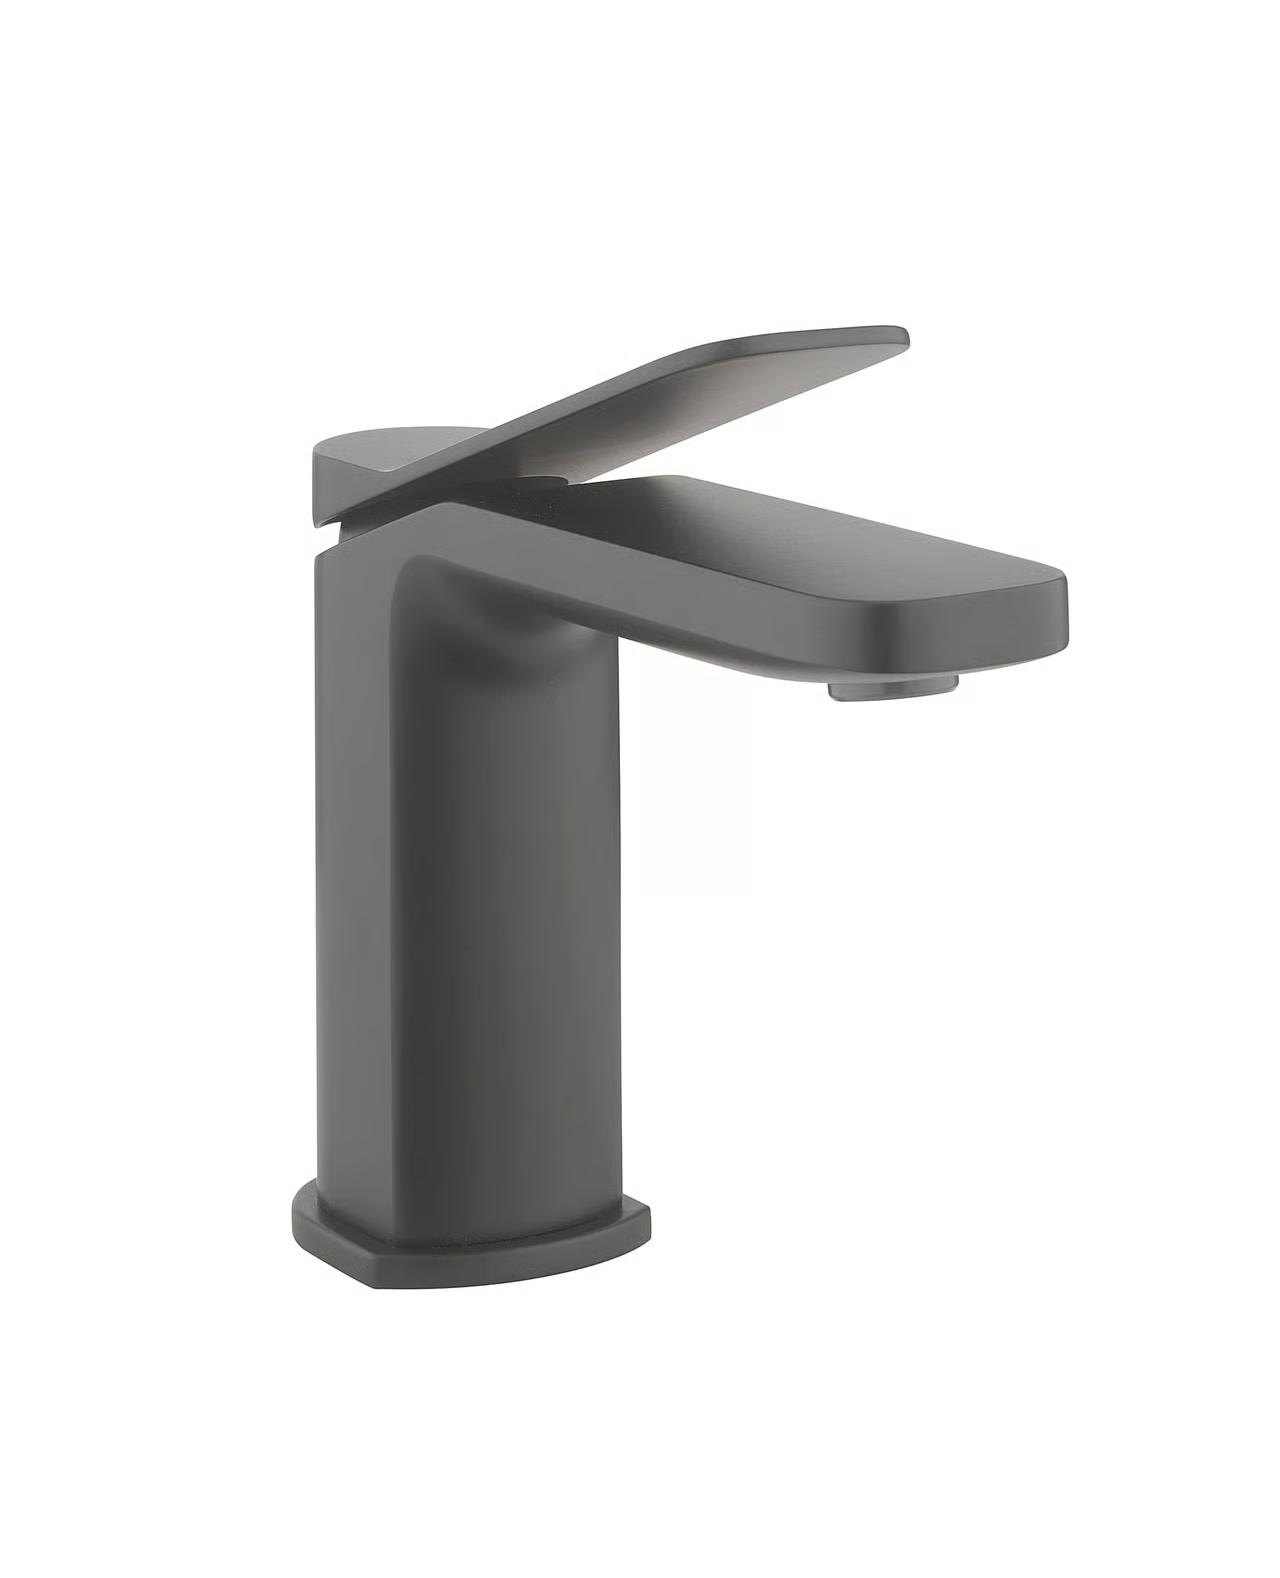
FINISHES
FINISHES
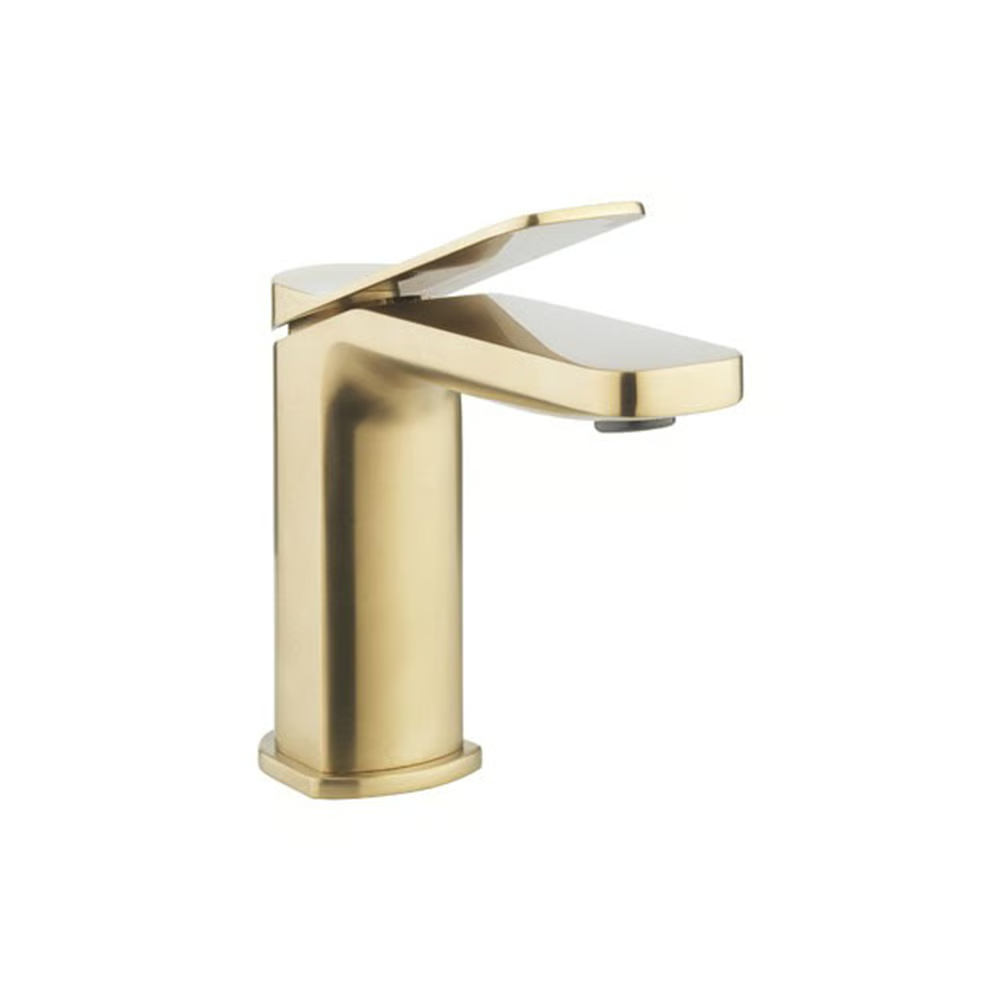
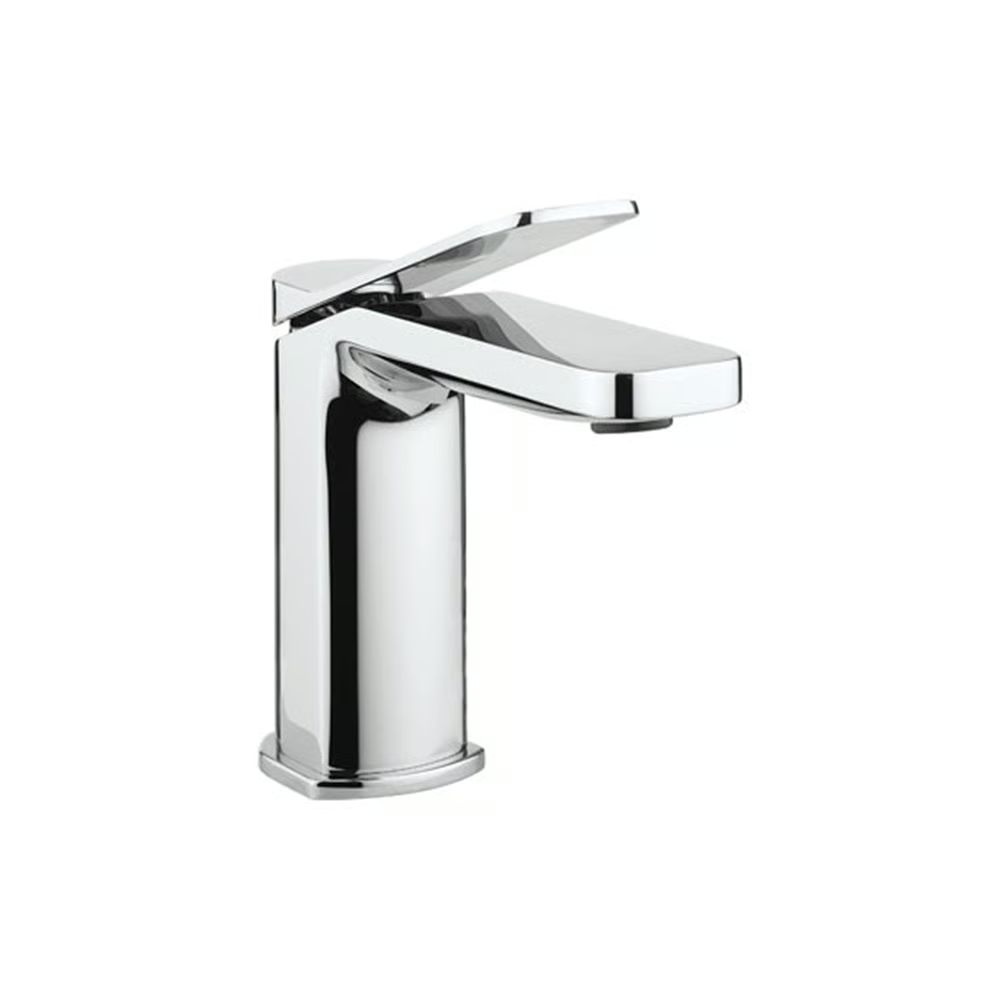
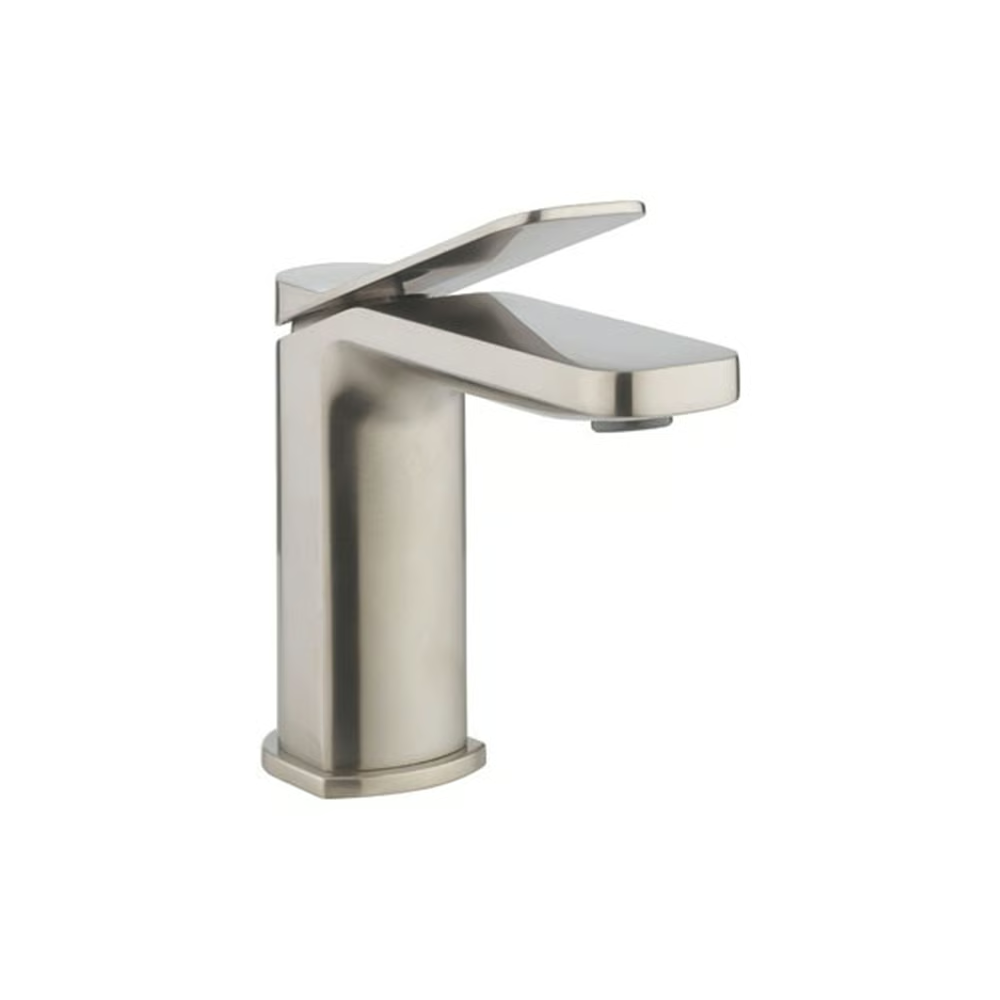
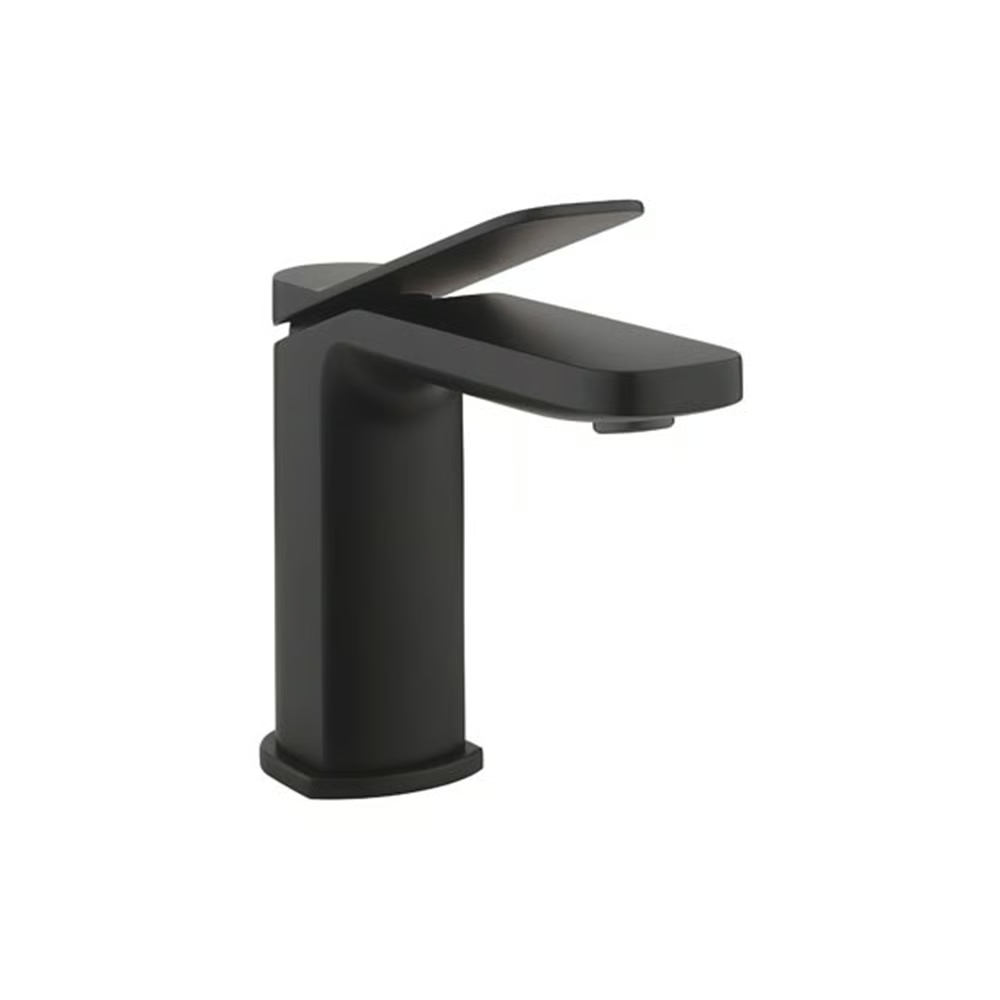
CARE & MAINTANCE
CLEANING THE AERATOR
Before use: Unscrew the aerator and allow the water to run freely until all debris is removed. Screw the aerator back into the spout once all impurities have been flushed from the water supply.
PERIODICALLY
Using the key provided in the box, unscrew the aerator from the spout and rinse with clean running water. Once all loose debris and dirt has been cleared, replace the aerator into the spout and tighten with the key provided.
CLEANING THE PRODUCT
The material we use in our taps is very durable, nevertheless care should be taken when cleaning them. They should be cleaned only with warm soapy water followed by rinsing with clean water and drying with a soft cloth.
All finishes are vulnerable to acid attack and some strong substances such as household cleaners, disinfectants, denture cleaners, hair dyes, wine making, and photographic chemicals can cause the surface to go black or peel.
Never use abrasive detergents or disinfectants or those containing alcohol, hydrochloric acid or phosphoric acid.
CLEANING THE CARTRIDGE
The concealed cartridge should give trouble free service, but in the event of any problems, servicing is straight forward.
TO REMOVE THE CARTRIDGE:
Pull off the cover cap and with an hexagonal key loosen the screw,but do not remove it. Pull off the handle and unscrew the cover. Using the correct size spanner unscrew and remove the retaining nut. Pull out the cartridge taking note of its orientation. Wash the cartridge with clean running water and make sure that any trapped debris has been removed. Dry and lightly grease the seal (only use silicone grease) and replace the cartridge followed by the nut, cover and handle.
