

Alton Green Houses Fusion 10 Cedar Greenhouse (10'10" X 10'7")
FUSION 10 CEDAR GREENHOUSE (10'10" X 10'7")
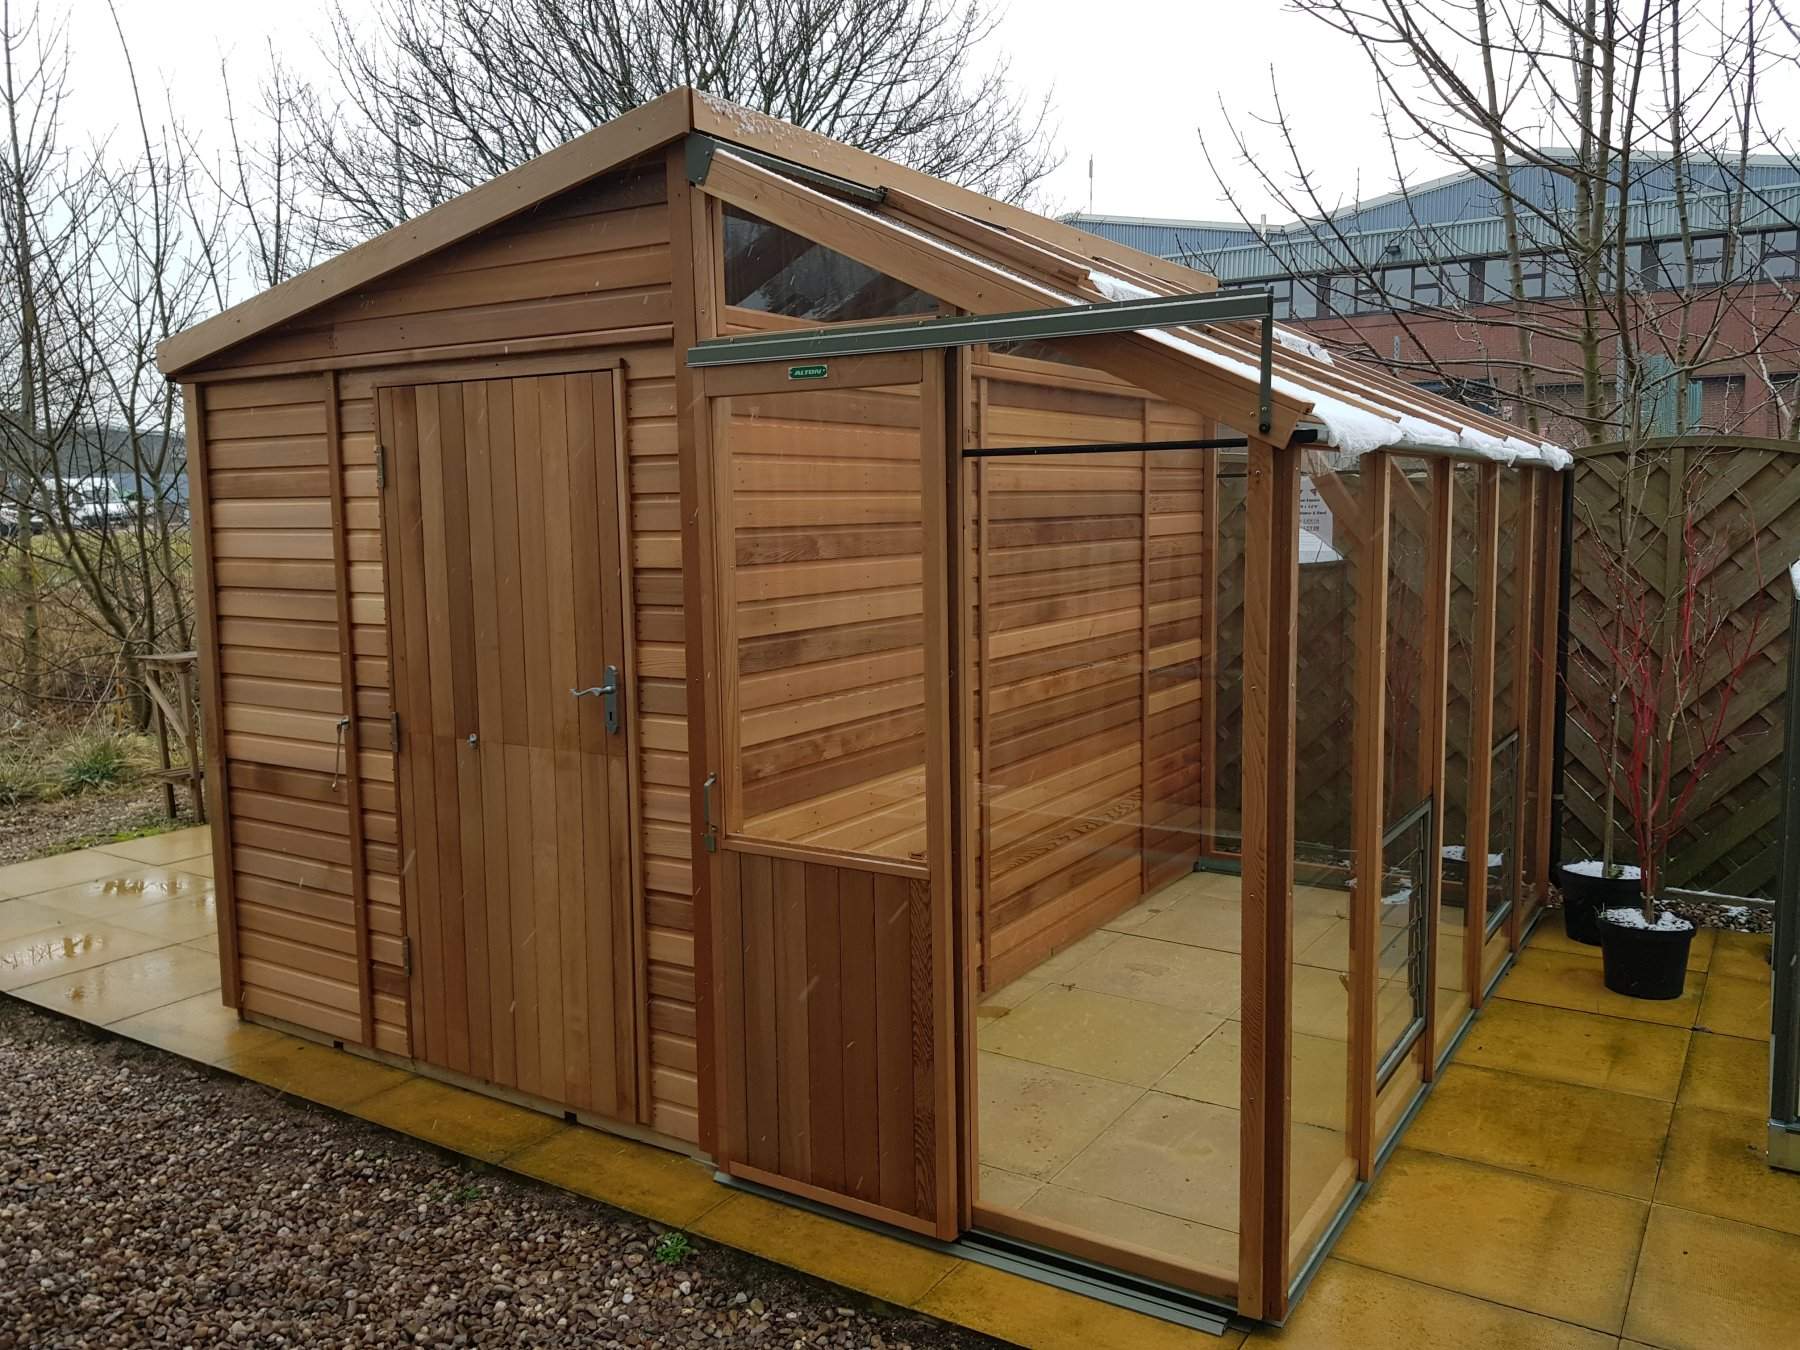
FUSION 10 CEDAR GREENHOUSE (10'10" X 10'7")
Alton have taken their superior design know-how and superb craftsmanship to create this sylish and highly practical garden building.
Using the same quality Western Red Cedar as the rest of the Alton range, with its pest and rot resistant qualities, this workshop/greenhouse provides you with two distinctly separate work spaces, all under one roof.
You can use the workshop to store all of your gardening tools, pots and potting compost, freeing up valuable growing space in your greenhouse, and dramatically increasing your growing capacity.
INFORMATION
BRAND
Alton Green House
PRODUCT ID
7956
PRODUCT TYPE
Greenhouse
PRODUCTION
Made in United Kingdom
DIMENSIONS
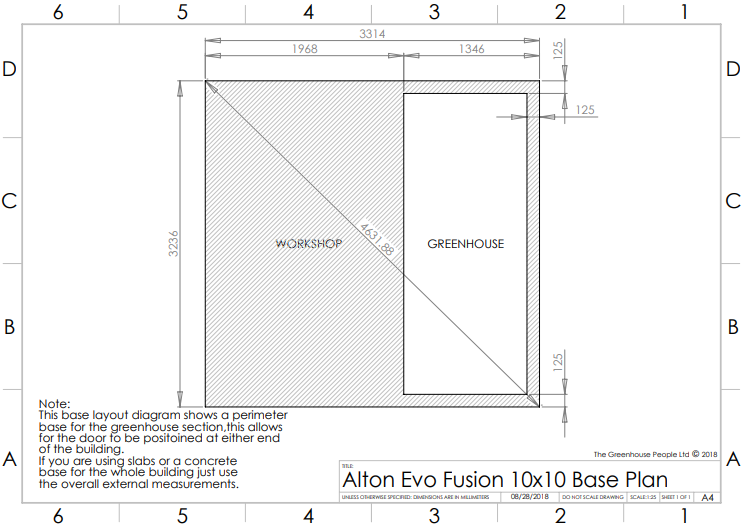
- A: Base Width : 3314 mm (10ft10)
- B : Length : 3236 mm (10ft7)
- C : Eaves Height : 2050 mm (6ft8)
- D : Ridge Height : 2443 mm (8ft0)
- E : Door Width : 806 mm (2ft7)
- F : Door height : 1847 mm (6ft0)
FRAMR
Redwood Frame (Workshop)
COLLECTION
Fusion
DELIVERY IN
6 - 8 Weeks
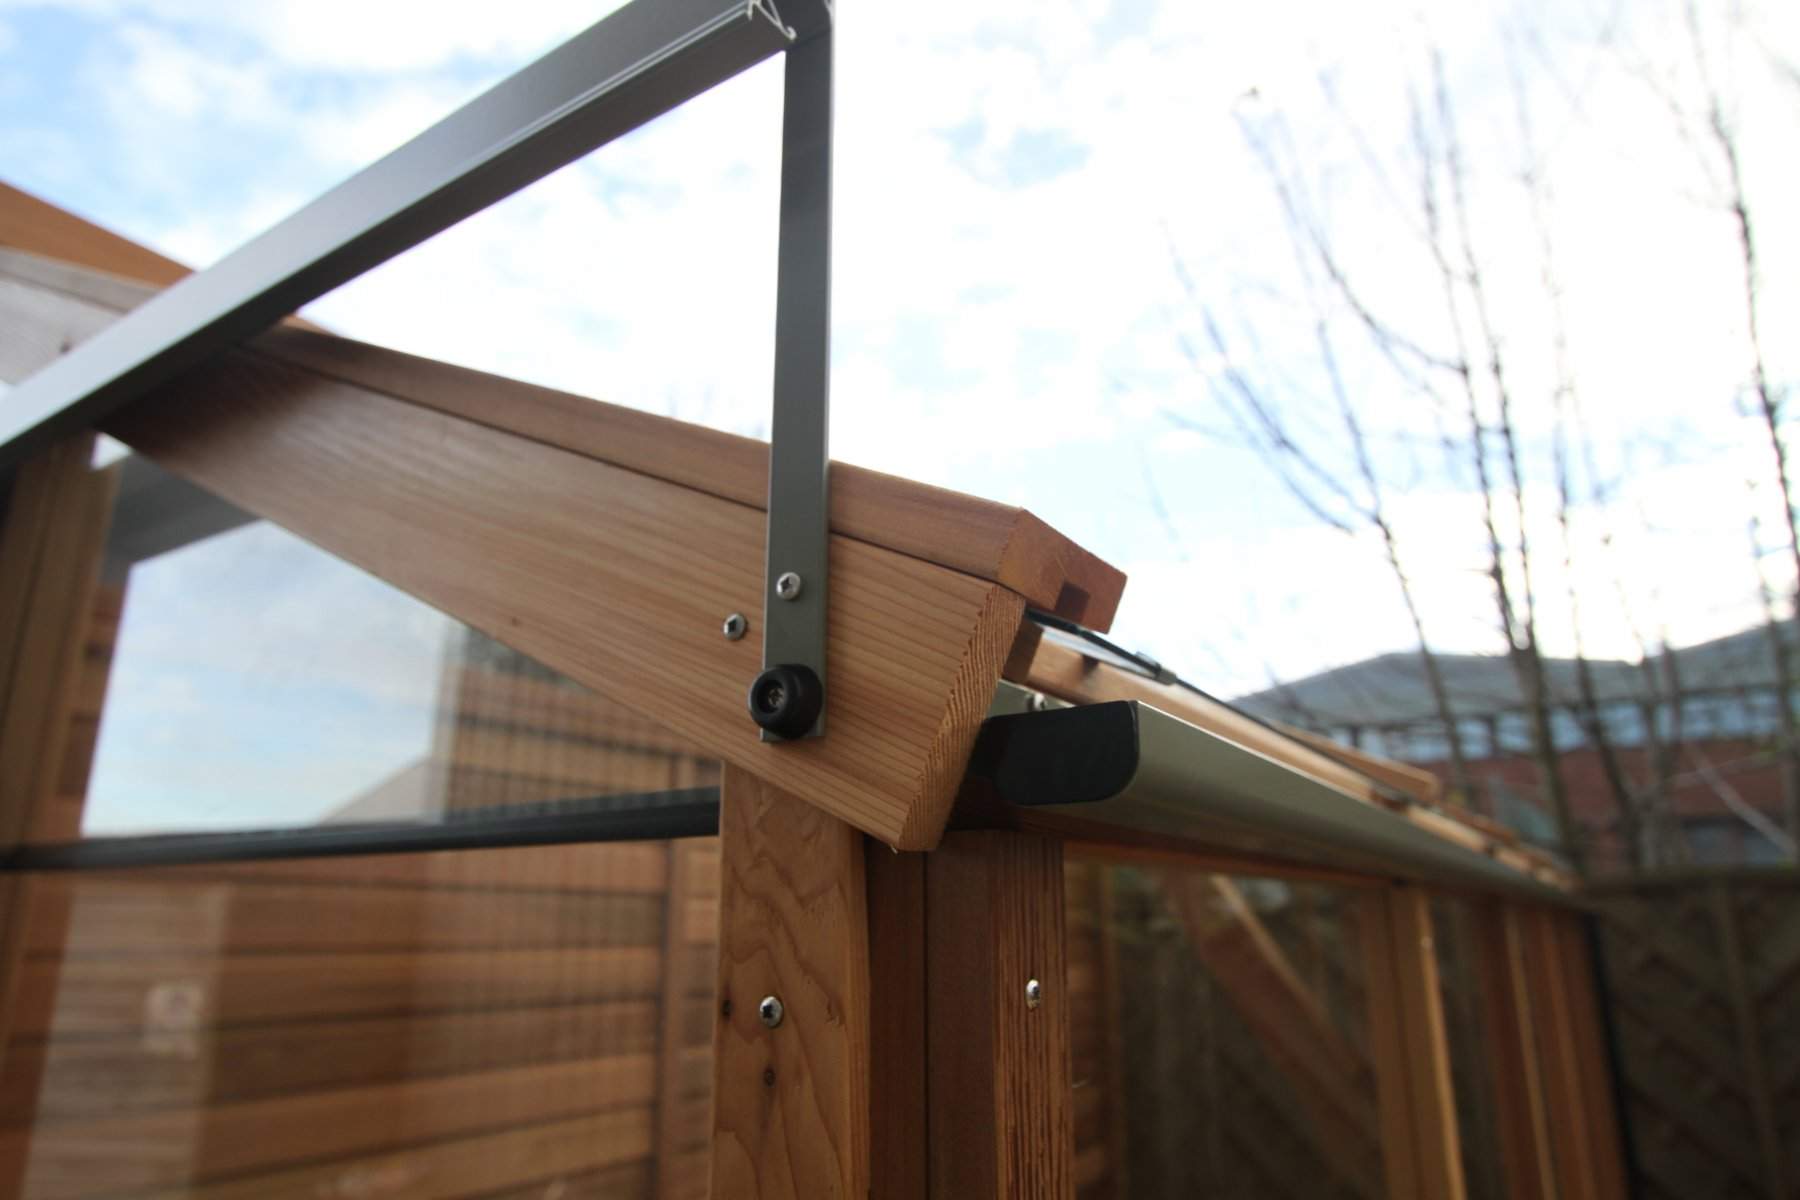
It's widely known that timber greenhouses are less susceptible to sudden extreme temperature changes. The Fusion 8 has the added bonus of excellent ventilation, thanks to the automatically opening roof vent and slatted glazed side louvre; as cool fresh air is drawn in lower down, pushing the warm stale air out above. When combined with the high eaves of this greenhouse, it makes for the perfect growing environment for your plants and seedlings. Complete with toughened safety glass throughout, and screw-down timber bar capping, this greenhouse is also designed for strength and durability.
GUARANTEE
10 Year
WORKSHOP CEDAR
Workshop cedar clad & greenhouse all cedar
EAVES
Extra High Eaves
GLASS
Toughened Glass
GROWING ENVIRONMENT
When combined with the high eaves of this greenhouse, it makes for the perfect growing environment for your plants and seedlings.
FEATURES
- Optional workshop bench
- Installation Available For a Fee
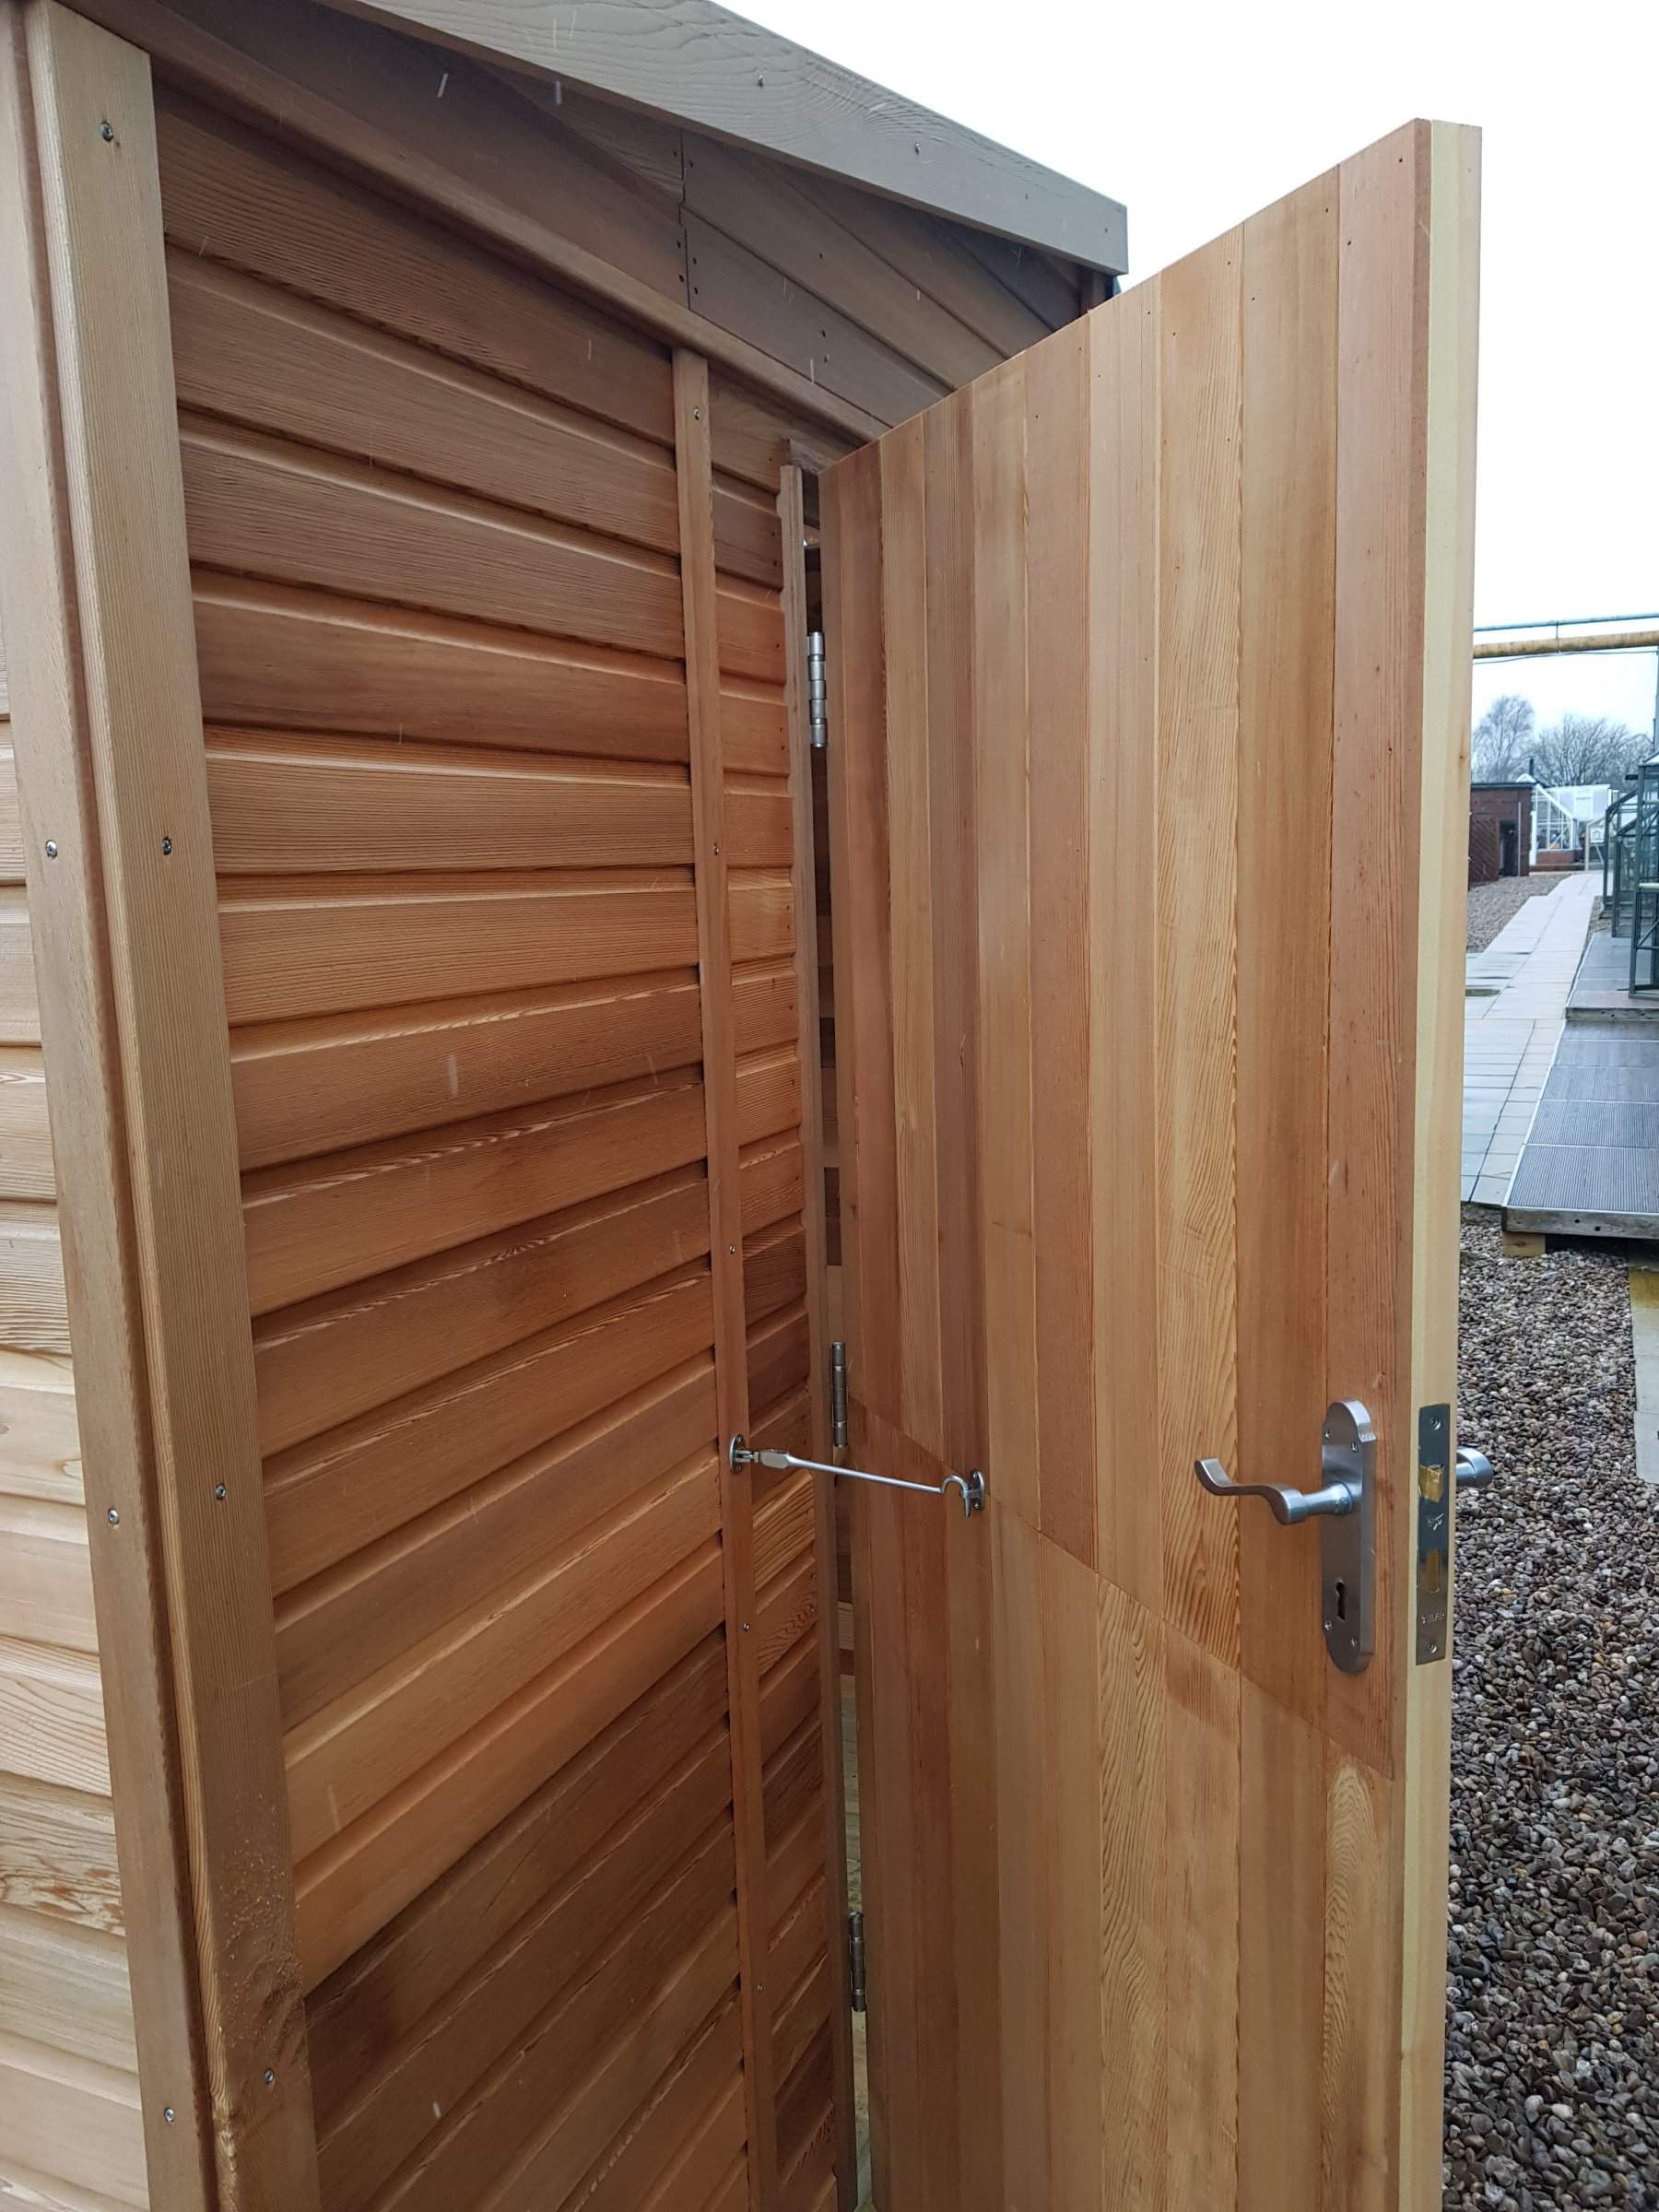
- Lockable workshop door (hinged)
- Screw in cedar bar capping system
- 1 x Large side opening vent (workshop)
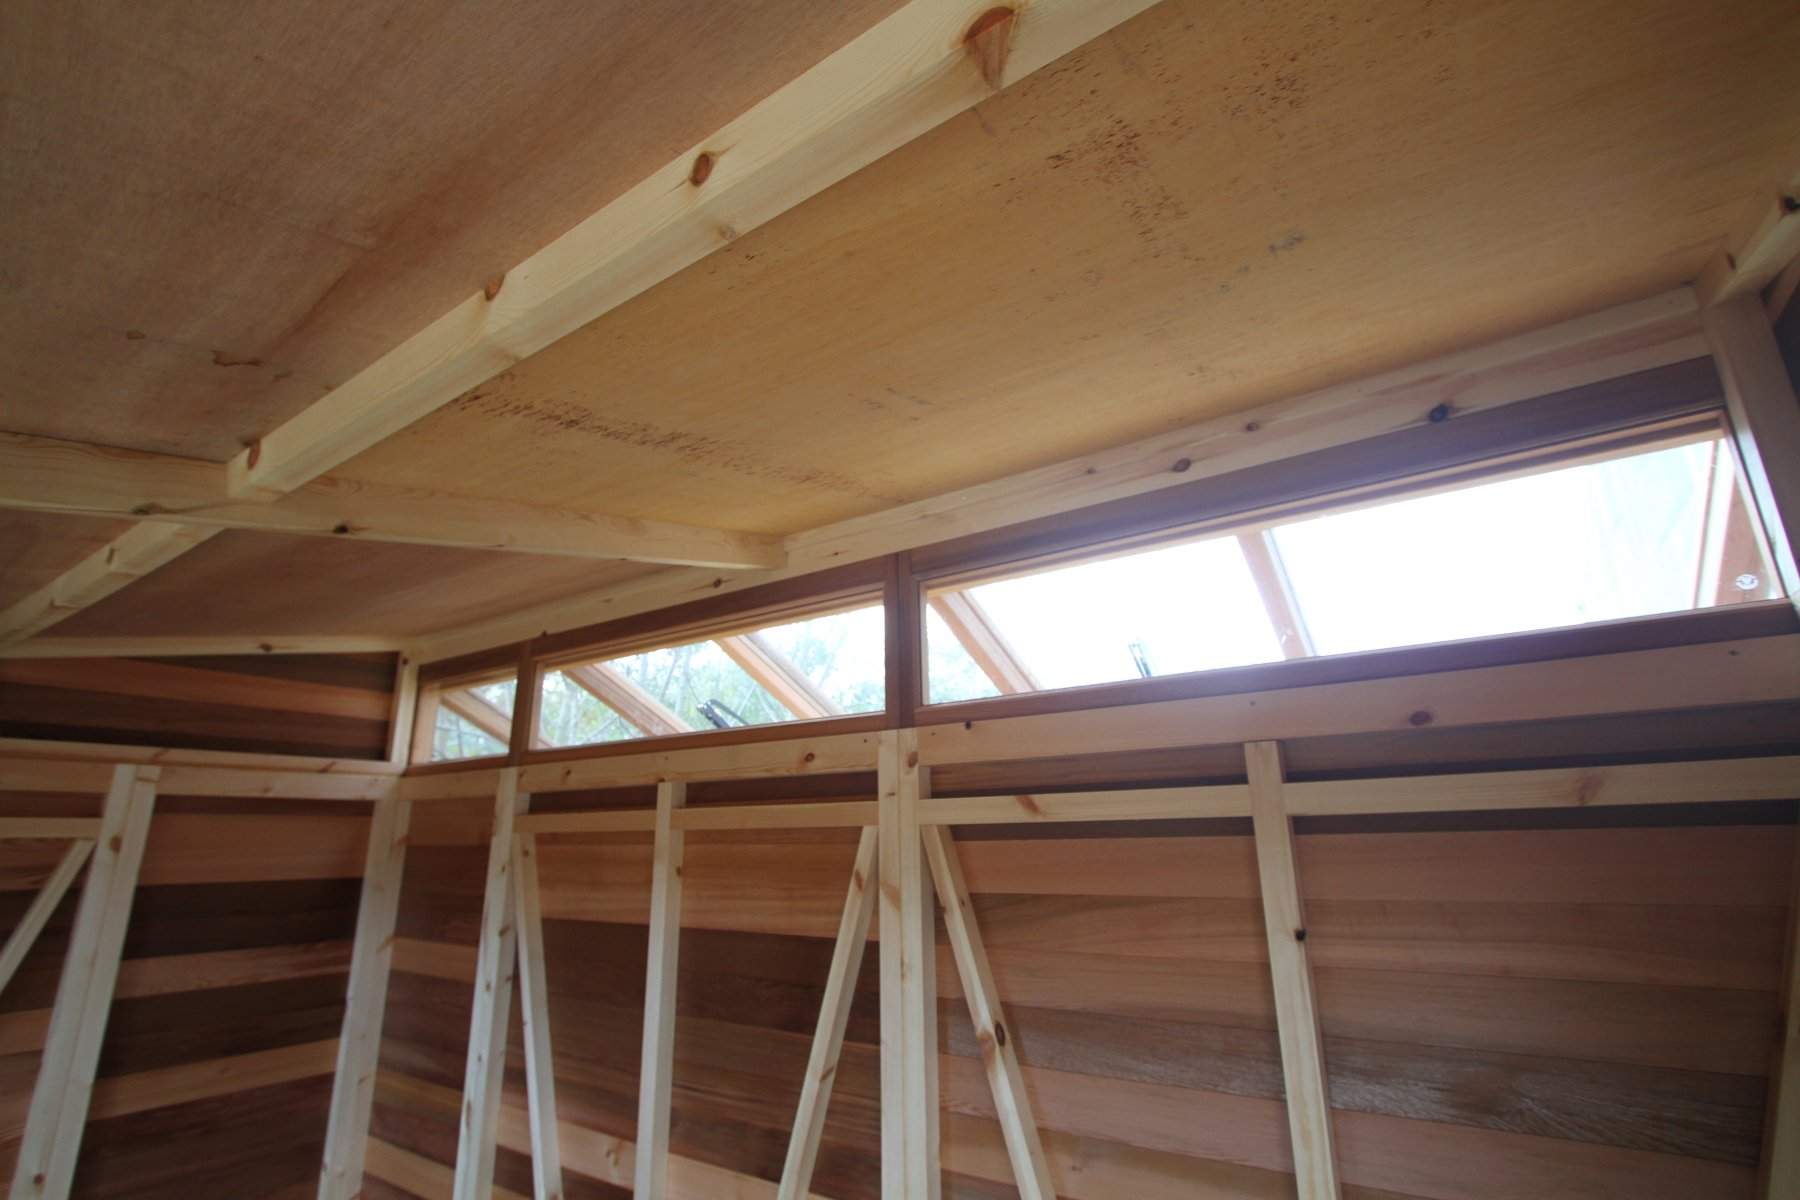
- High level fixed windows on high side (workshop)
- Heavy duty tanalised floor (workshop) 21mm thic
VENT
2 x Louvre vents
THRESHOLD
Low Level Threshold
LOCKABLE HINGED DOOR
The both halves have their own individual means of entry; a lockable hinged door to the workshop, and an easy-glide, single sliding door to the greenhouse. There is the option to add an internal sliding door between both spaces.
INTERNAL WALL TO THE GREENHOUSE
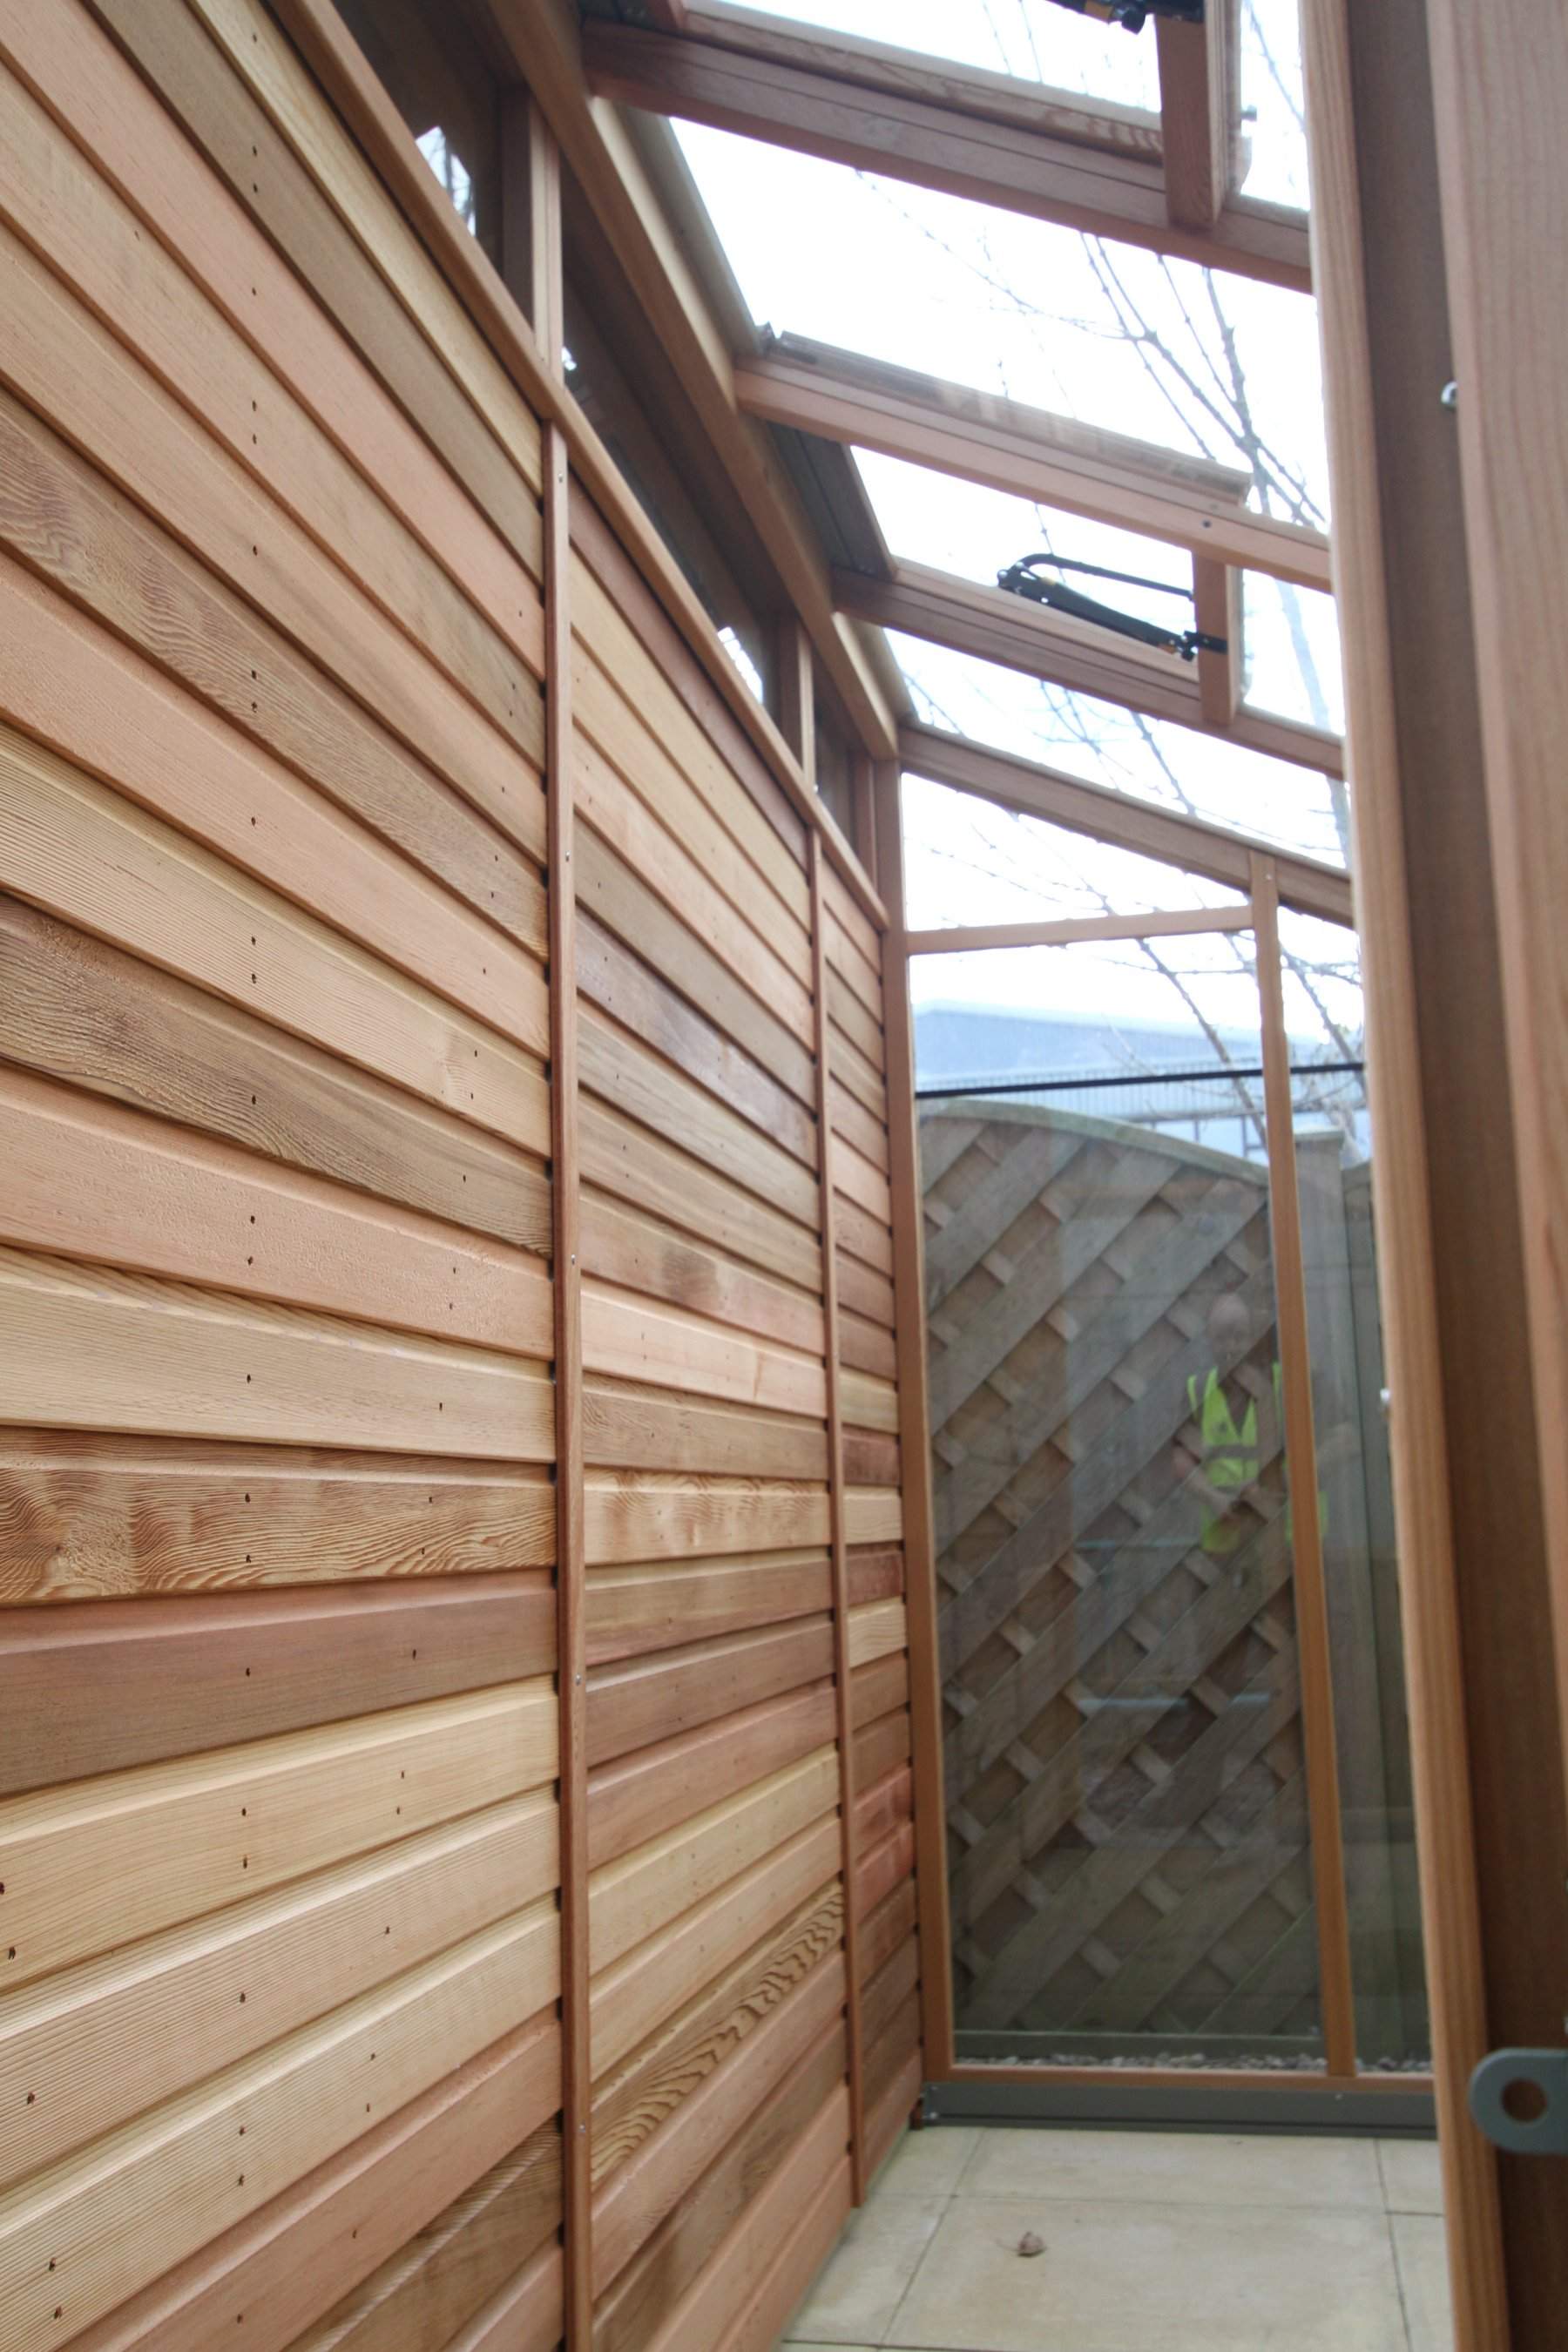
The workshop makes an ideal working space, with plenty of light from the large window on the external wall, and high level windows on the internal wall to the greenhouse. It has incredible strength, due to the solid nature of the timber carcassing, and the tongue and groove cladding is made of the same treated Western Red Cedar as the greenhouse. The roof is covered with a quality red felt, making the building watertight. There is an optional timber bench available, for the perfect workstation.
GUTTER
Gutter and a single down pipe
OPENING
2 x Roof vents (automatic opening)
INSTALLATION
ROOF FRAME INSTALLATION
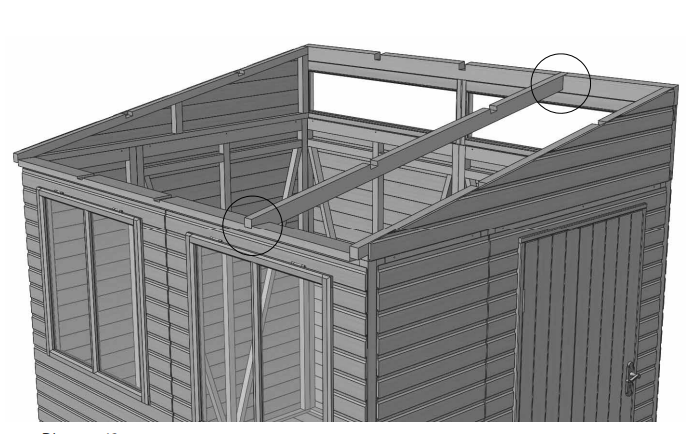
With the ridge plate and eaves plate now installed you can start fitting the roof rafters. These slot into the ridge and eaves plates, make sure the rafters are tight up to the ridge and likewise tight into the eaves before fixing. To prevent movement or twist drill 2 pilot holes in each end and fix with 60mm countersunk zinc plated screws.
ROOF SHEET INSTALLATION
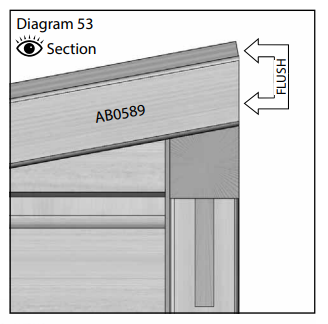
Now install the ply roof sheets, start by fitting the two sheets (AB0632) next to the gable ends. Make sure the top edge of the roof sheet is flush with the ridge plate and the end of the gable soffit bar (diagram 53). This will give you a slight overhang at the eaves. The outside edge should be flush with the outer edge of the gable soffit, if the ply sheets do not sit square on your roof this is because the building is not true, try pushing on the corners of the building until the roof sheets line up.
GREENHOUSE INSTALLATION
- Now follow the main greenhouse instructions, head straight to page 5. Familiarise yourself with the process of installation in the overview. Once you have read this you can begin to install the aluminium base
- You can ignore the instruction to stick the foam strip to the ridge and wall bars.
- The fixing the lean-to greenhouse to a wall, this is when you fix the greenhouse to the workshop.
- You can then carry on following the greenhouse instructions to complete the glazing procedure, install the door. and finally the ridge cap. Again ignore the instruction to fit the foam to the back of the ridge cap, this is not needed . - When you have fitted the ridge cap of the main greenhouse instructions, you can then return to this instruction book.
