Vahallan Broken line Straight wallcovering
BROKEN LINE STRAIGHT WALLpaper

BROKEN LINE STRAIGHT WALLPAPER
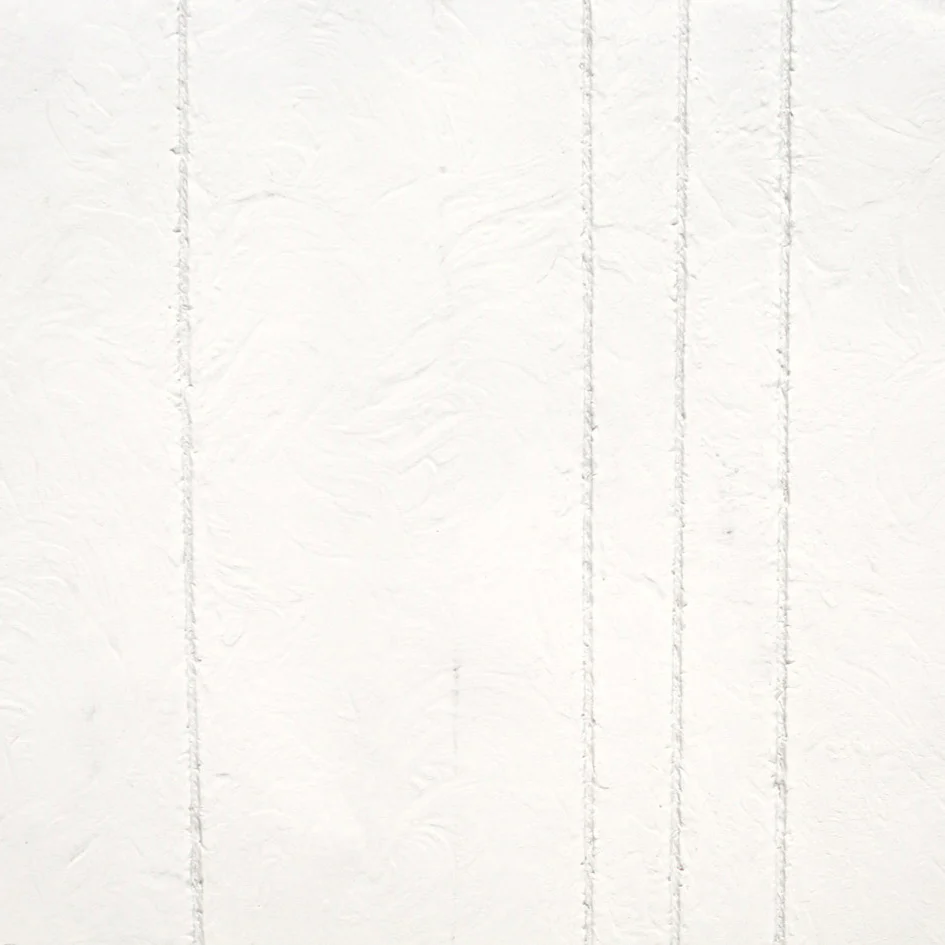
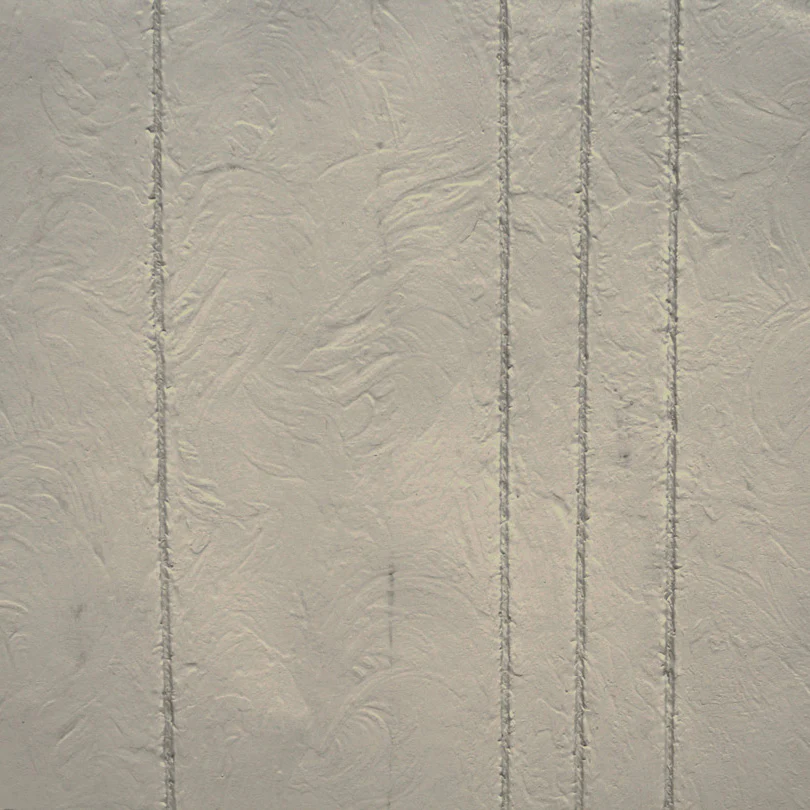
The straightforward, elegant textured minimalism of Broken Lines - Straight wallpaper Pattern is the tranquil answer to its noisy cousin.
Interwoven linear lines evoke stability and meditative ease over soulful monotones.
INFORMATION
BRAND
Vahallan
PRODUCT TYPE
Wallpaper
APPLICATIONS
Tiles
ENVIRONMENT
Indoor
REPEAT AND MATCH
No repeat. Random pattern match.
INSTALLATION GUIDE FOR BROKEN LINES/STRAIGHT LINES TILES
At Vahallan, we are meticulous about each hand-painted wall covering we create for our customers. Every order is crafted by our artists to give your space the personalized look and feel you’re seeking. Using unique designs, a detailed process, and intricately forged materials, Vahallan paper is proudly made in Lincoln, Nebraska —where artistry and craftsmanship meet.
FIRE RATING
ASTM Class B
AVAILABLE COLORS
7
FINISHES
-Flat White Straight -Adonis Straight -Callisto Straight -Despena Straight -Nesa Straight -Sarosh Straight -Pluto Straight


CLEANING & CARE
-Before cleaning any product, we recommend testing it on a small, inconspicuous area. -Avoid getting the wall covering excessively wet. -Most stains will wipe clean with water and a soft cloth. -Do not use cleaners, solvents, or chemicals on any kind on Vahallan wall coverings.
COLLECTION
Broken
TILE SIZE
Square : 29"x 29"
PRE-INSTALLATION GUIDELINES
-The panels should be viewed and approved by client before installation. Confirm that you have the correct quantity and color of product. No claims will be allowed if more than 3 panels have been installed. All claims must be made within 30 days of ship date. -No claims are allowed for labor charges or consequential damages. No claims are allowed if lighting in install area is unfinished/not fully installed. -Our product is not guaranteed against fading or color changes over time. Prolonged storage is not recommended. -When handling wall coverings, avoid folding or creasing the product. -Store the material in a dry place between 60° - 85°F.
RECOMMENDED TOOLS AND EQUIPMENT
- Table & Level
- Clean water
- Seam Roller
- Sponge and Towels
- Steel straight edge
- Snap-off-blade knife
- Painting supplies for priming
- Smoothing brush or plastic smoother
- Romans pro-977 wall covering primer
- Wall covering primer(Draw Tite™ preferred)
- Clear adhesive (Romans 880 or Romans Pro-838 preferred)
PRODUCTION
Made in United States
DOWNLOAD
↓ Installation Instructions
APPLICATIONS
STEP 1 : SETUP
Make sure the walls are dirt- and dust-free, and that cracks, nail holes, and loose plaster have been fixed. Remove any electrical outlet plates and vent covers. These can be covered by our wall covering and we recommend doing this prior to covering the walls.
STEP 2 : WALL PREPARATION
Walls should be smooth and sanded. Surfaces receiving the wall covering should be primed with two coats of high-quality acrylic primer. Match primer color to paper to minimize visible seams on wall. Read the manufacturer’s label for suggested primer drying time..
STEP 3 : WALL MAPPING
Wall mapping will be determined by the method of installation (Step 5) and the height of the wall. We recommend beginning installation in the approximate center of the wall in columns. Keep in mind the strands in the paper need not match up.
STEP 4 : ADHESIVE APPLICATION
Apply adhesive to the back of your prepared piece using a paint roller. It is important that the application is even and adequate, particularly at the edges. To ensure proper adhesion, book or allow paper to relax for 30-90 seconds after applying adhesive. On heavily textured papers or porous surfaced papers, avoid getting adhesive on the face of the wall covering as it could stain the papers. It may be necessary on heavily textured wallpapers to put adhesive on both the wall and back of paper.
STEP 5 : PAPER APPLICATION
Option 1 : Measure 28” down from the ceiling and draw a level horizontal line at that point. The first tile will be installed above that line. Trim excess paper at the ceiling for an exact finish. Proceed installing the tiles in columns. Thin edge strips may be unavoidable.
Option 2 : Avoid thin edge strips by carefully mapping wall so that the tiles will fit. Draw a level horizontal line on the wall at the starting point you’ve determined. Install the paper at that line in columns.
- Smooth paper with brush. If the paper won’t lay flat, make a relief cut adjacent to the string and smooth out with a brush. Trim the ceiling and floor edges of the wallpaper after application. Pre-trimming is not recommended as ceiling and baseboard may not be level. Wipe down the paper with a clean, damp towel or sponge to remove any paste on the surface.