Lincrusta Georgian Panel Wallcovering
GEORGIAN PANEL WALLCOVERING
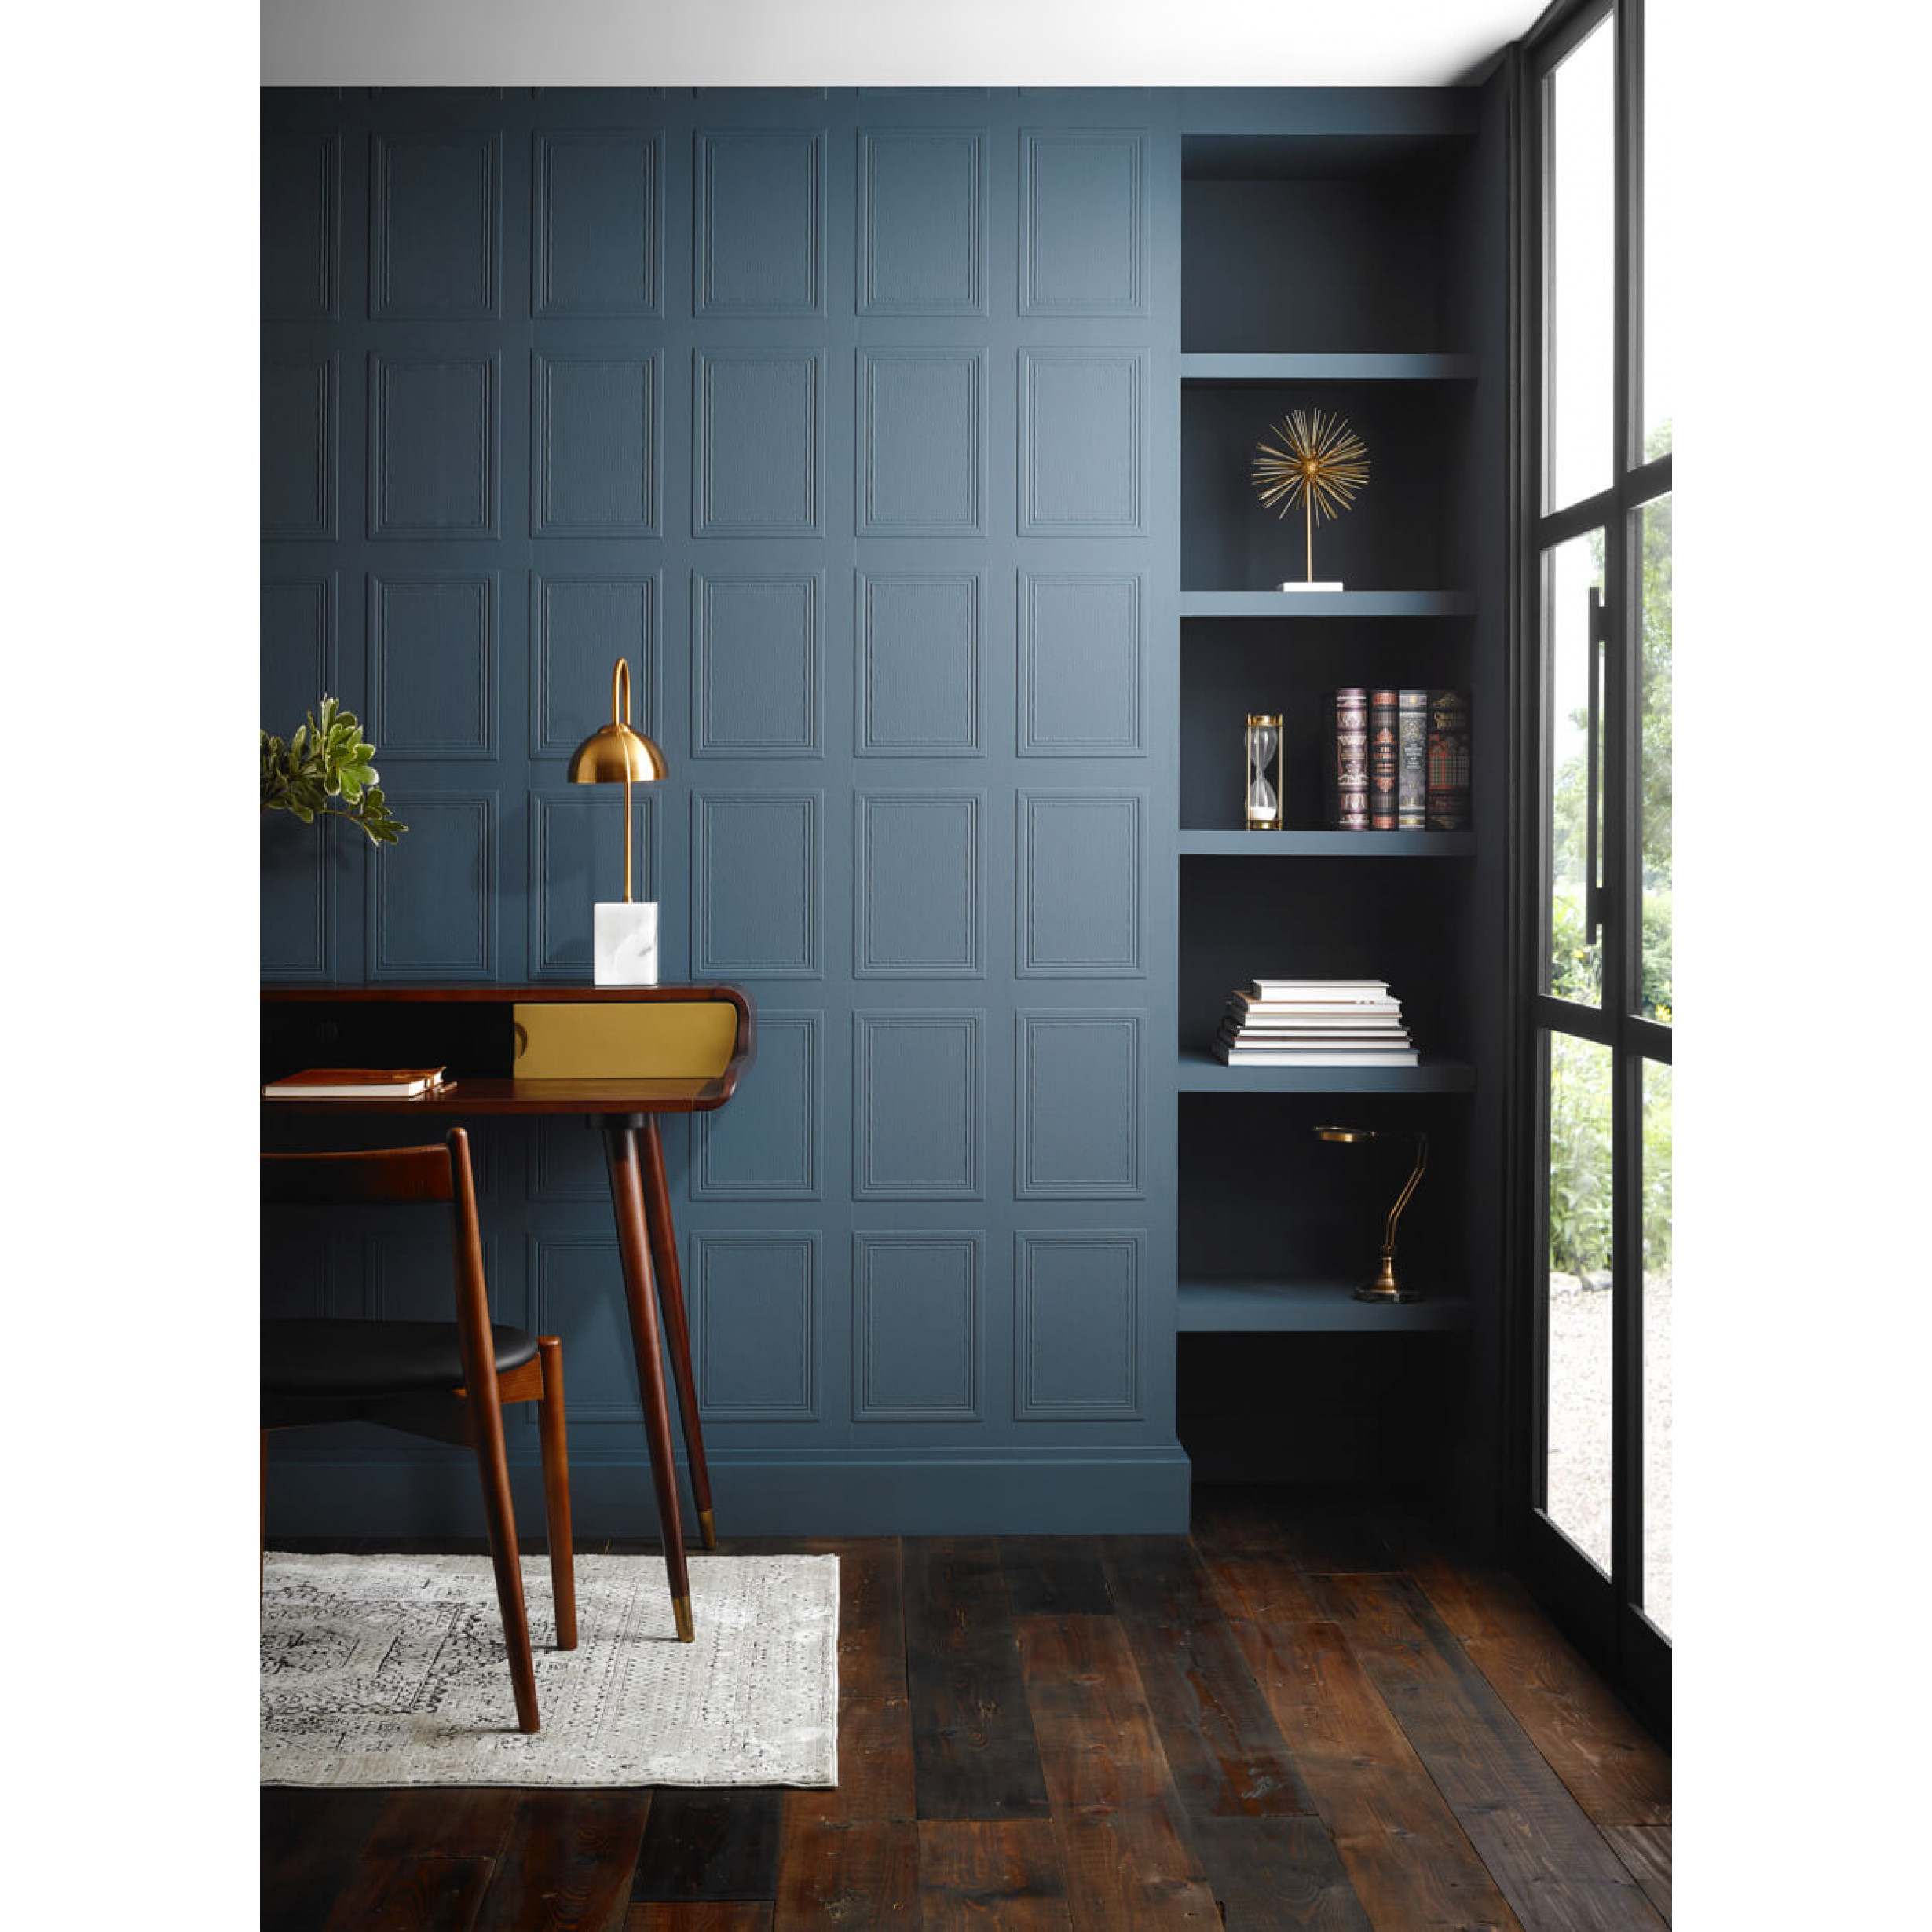
GEORGIAN PANEL WALLCOVERING
Many fine houses of the mid 18th century would have featured authentic panelling just like this.
Finish our version with a finely grained wood effect for a beautifully convincing alternative to the real thing.
INFORMATION
BRAND
Lincrusta
PRODUCT TYPE
Wall Coverings
PRODUCTION
Made in United Kingdom
CODE
RD1650FR

ROLL WIDTH
534mm (21 inches)
ROLL LENGTH
10m (11 yards)
DESIGN MATCH
Straight Match
RECOMMENDED RETAIL PRICE
£255.83 ex. VAT

RECOMMENDED ADHESIVE
Lincrusta Adhesive has been formulated specifically for the installation of Lincrusta. We DO NOT recommend using any other adhesives. If the Lincrusta Adhesive is a little thick, stir well – do not dilute.
DESIGN REPEAT
367mm (14.4 inches)
FIRE RATING
-BS EN15102:2007+A1:2011 -Class B, ASTM-E84 -Class 1/A
SURFACE PREPARATION
-Thorough preparation of the surface is essential when installing Lincrusta. Remove old paper, wash down, fill all imperfections and allow to dry. -For POROUS surfaces, rub down before applying a coat of size (diluted regular wallpaper adhesive). -For NON-POROUS surfaces (eg. solvent painted walls), cross-line to give perfect adhesion. Apply lining paper using a ready-mixed adhesive containing a fungicide. -Ensure surface is dry before installing Lincrusta.
EQUIPMENT
-Sharp Knife -Tape Measure -Spirit Level -Felt Smoothing Roller -Straight Edge (for cutting) -Sponge -Cutting Board– 50-75mm (2-3”) Synthetic Bristle Paint -Brush or Roller
STORING & HANDLING LINCRUSTA
Store Lincrusta at room temperature before installation. When handling, care should be taken to avoid surface damage. Lincrusta becomes more pliable after soaking and pasting. Lincrusta is made from materials that once mixed, start a natural curing process. If stored correctly at an ambient temperature, Lincrusta has a shelf life of 18 months to 2 years from the production date. Please make sure that you bear this in mind when planning your project and only purchase Lincrusta when it is required
INSTALLATION INSTRUCTIONS
GENERAL INSTALLATION INSTRUCTIONS
-Plan your start and finish points in the room to minimise wastage, and mark a vertical plumb line to which to hang your first length. -Match the pattern where necessary. Cut individual lengths to size adding 50mm (2”) at the top and bottom for trimming. -Cut to the left and right trim position using a sharp knife and straight edge, taking care to avoid edge damage. Refer to Trim and Repeat Information Table for details of recommended trim position for individual designs. -Wet the back of the paper with warm water using a sponge. For best results place lengths back to back and leave for approximately 5–8 minutes. -Remove any excess water using a sponge or cloth. -Apply Lincrusta Adhesive to the back of the Lincrusta using a 50–75mm (2–3”) synthetic bristle paint brush. -Apply length to the surface and smooth down using a 178mm (7”) felt smoothing roller, working from themiddle to the outer edges expelling all air bubbles. -To form lower edge, mark Lincrusta at each side with a pencil, level with top of skirting or dado. Place cutting board behind Lincrusta leaning against wall, and cut between pencil marks using a sharp knife and straight edge. Repeat at top.
INTERNAL CORNERS
Cut to fit into the corner. Hang the remaining off-cut to a plumb line on the adjacent wall, trimming to fit in corner. Trim any areas of high relief in the corner at 45° angle to fit.

EXTERNAL CORNERS
For gently rounded corners, Lincrusta can be smoothed round in one piece. Where the angle is sharp, cut the Lincrusta to finish flush at the corner. Hang the remaining off-cut to a plumb line on adjacent wall, equal to the minimum width of off-cut. Fill any gaps at the external corner using linseed putty.
